
Right at Home Stamps Fall Leaves + Fall Sentiments Now Available
Hi there!
Today is the day...another two stamp sets are now available on our shop! I am so excited for these two sets. I have been creating up a storm with them and feel like I really designed something useful and versatile for a number of different card styles. I have so many projects to share with you today so let's jump right into it!

Hello Fall Card
The first card I wanted to share with you is one of my favorite ones that I have made so far with my new stamps. I started by using a scalloped frame die that I got out of a My Favorite Things Blueprints set and cut it from some green paper. I added a little rectangle inside that I cut from some graph patterned paper.

I knew I wanted to have a little arrangement of leaves in the corner so I white heat embossed my two leaves onto some polka dot patterned papers and trimmed them out. Right now I don't have coordinating dies for this stamp, but they shapes are easy to cut out...I haven't had a problem so far. I added a little wood button with twine to the stems to add a finishing touch. For my sentiment, I used my new sentiment set and layered "hello" and "fall" to finish off my card!
Thank You For All You Do Card
The next card I have is actually the first card I created with my stamp. Even while designing the stamp I knew I wanted to create a card where I added a ton of the different elements from the stamp onto a piece of cardstock with various ink colors. I always love cards like these because they look like patterned paper or fabric that you made yourself.

To create my arrangement I started with the largest images and then filled in all the nooks in crannies with the smaller leaves and branches included in this set. I wanted to include tons of little images that could be used a fillers when creating cards like this. Again, I used my sentiment set with some brown ink to finish off my card.
Thanks Card
For some reason whenever the fall starts to roll around I always find myself reaching for my Tim Holtz Distress Inks more and more. Recently, I have been obsessed with mixing the various colors together to create different combinations. I used some of the ones that I created on this card below!

To start, I white heat embossed the largest leaf outline onto some cardstock and then generously rubbed various Distress ink colors over them to create a soft ombré effect on these leaves. While designing the stamp, I knew I wanted to have both outlines and solid images of the leaves to allow for those who enjoy techniques like this or those who like just a solid color. You could also substitute the Distress ink for Copic markers instead!
Thankful For All You Do Card
For this card I was inspired by the falling leaves and the leaf piles that will soon be appearing on all of our yards. I wanted to use some of the stamps in various sizes to create an arrangement that would act as a focal point for my sentiment.

I white heat embossed some of leaves and trimmed them out. Then I started working on fitting all of the elements together to create a scene that was visually pleasing. This was definitely the hardest part of creating this card. I would recommend just moving things around until you find a layout that you like and then snap a picture on your phone so you can remove them and glue them down.
I Can't Thank You Enough Card
While scrolling through Instagram I came across this card by Leigh Penner and knew that I had to recreate it. I loved the layout of the card and the panel that was adhered off center...such a unique design. I started by creating the same type of panel and stamping a sentiment from the new My Favorite Things Thanks So Very Much stamp in the top corner.

I then used a plaid stamp and some white pigment ink to stamp my own patterned paper onto some kraft cardstock. I added a few leaves and a little wood button to create a little bouquet. I also used a woodgrain background stamp to add a little interest to the card base. I seriously love the way this card turned out!
Hello Card
The next card is one that is super simple and can be recreated in little to no time at all. I consider this one of those go-to card designs that always looks good and can be used when a card is needed quickly. I used the largest leaf and the little acorn to create the focal point. I found the little "hello" on a MFT stamp set and white heat embossed it on a tag die cut from WPlus9.
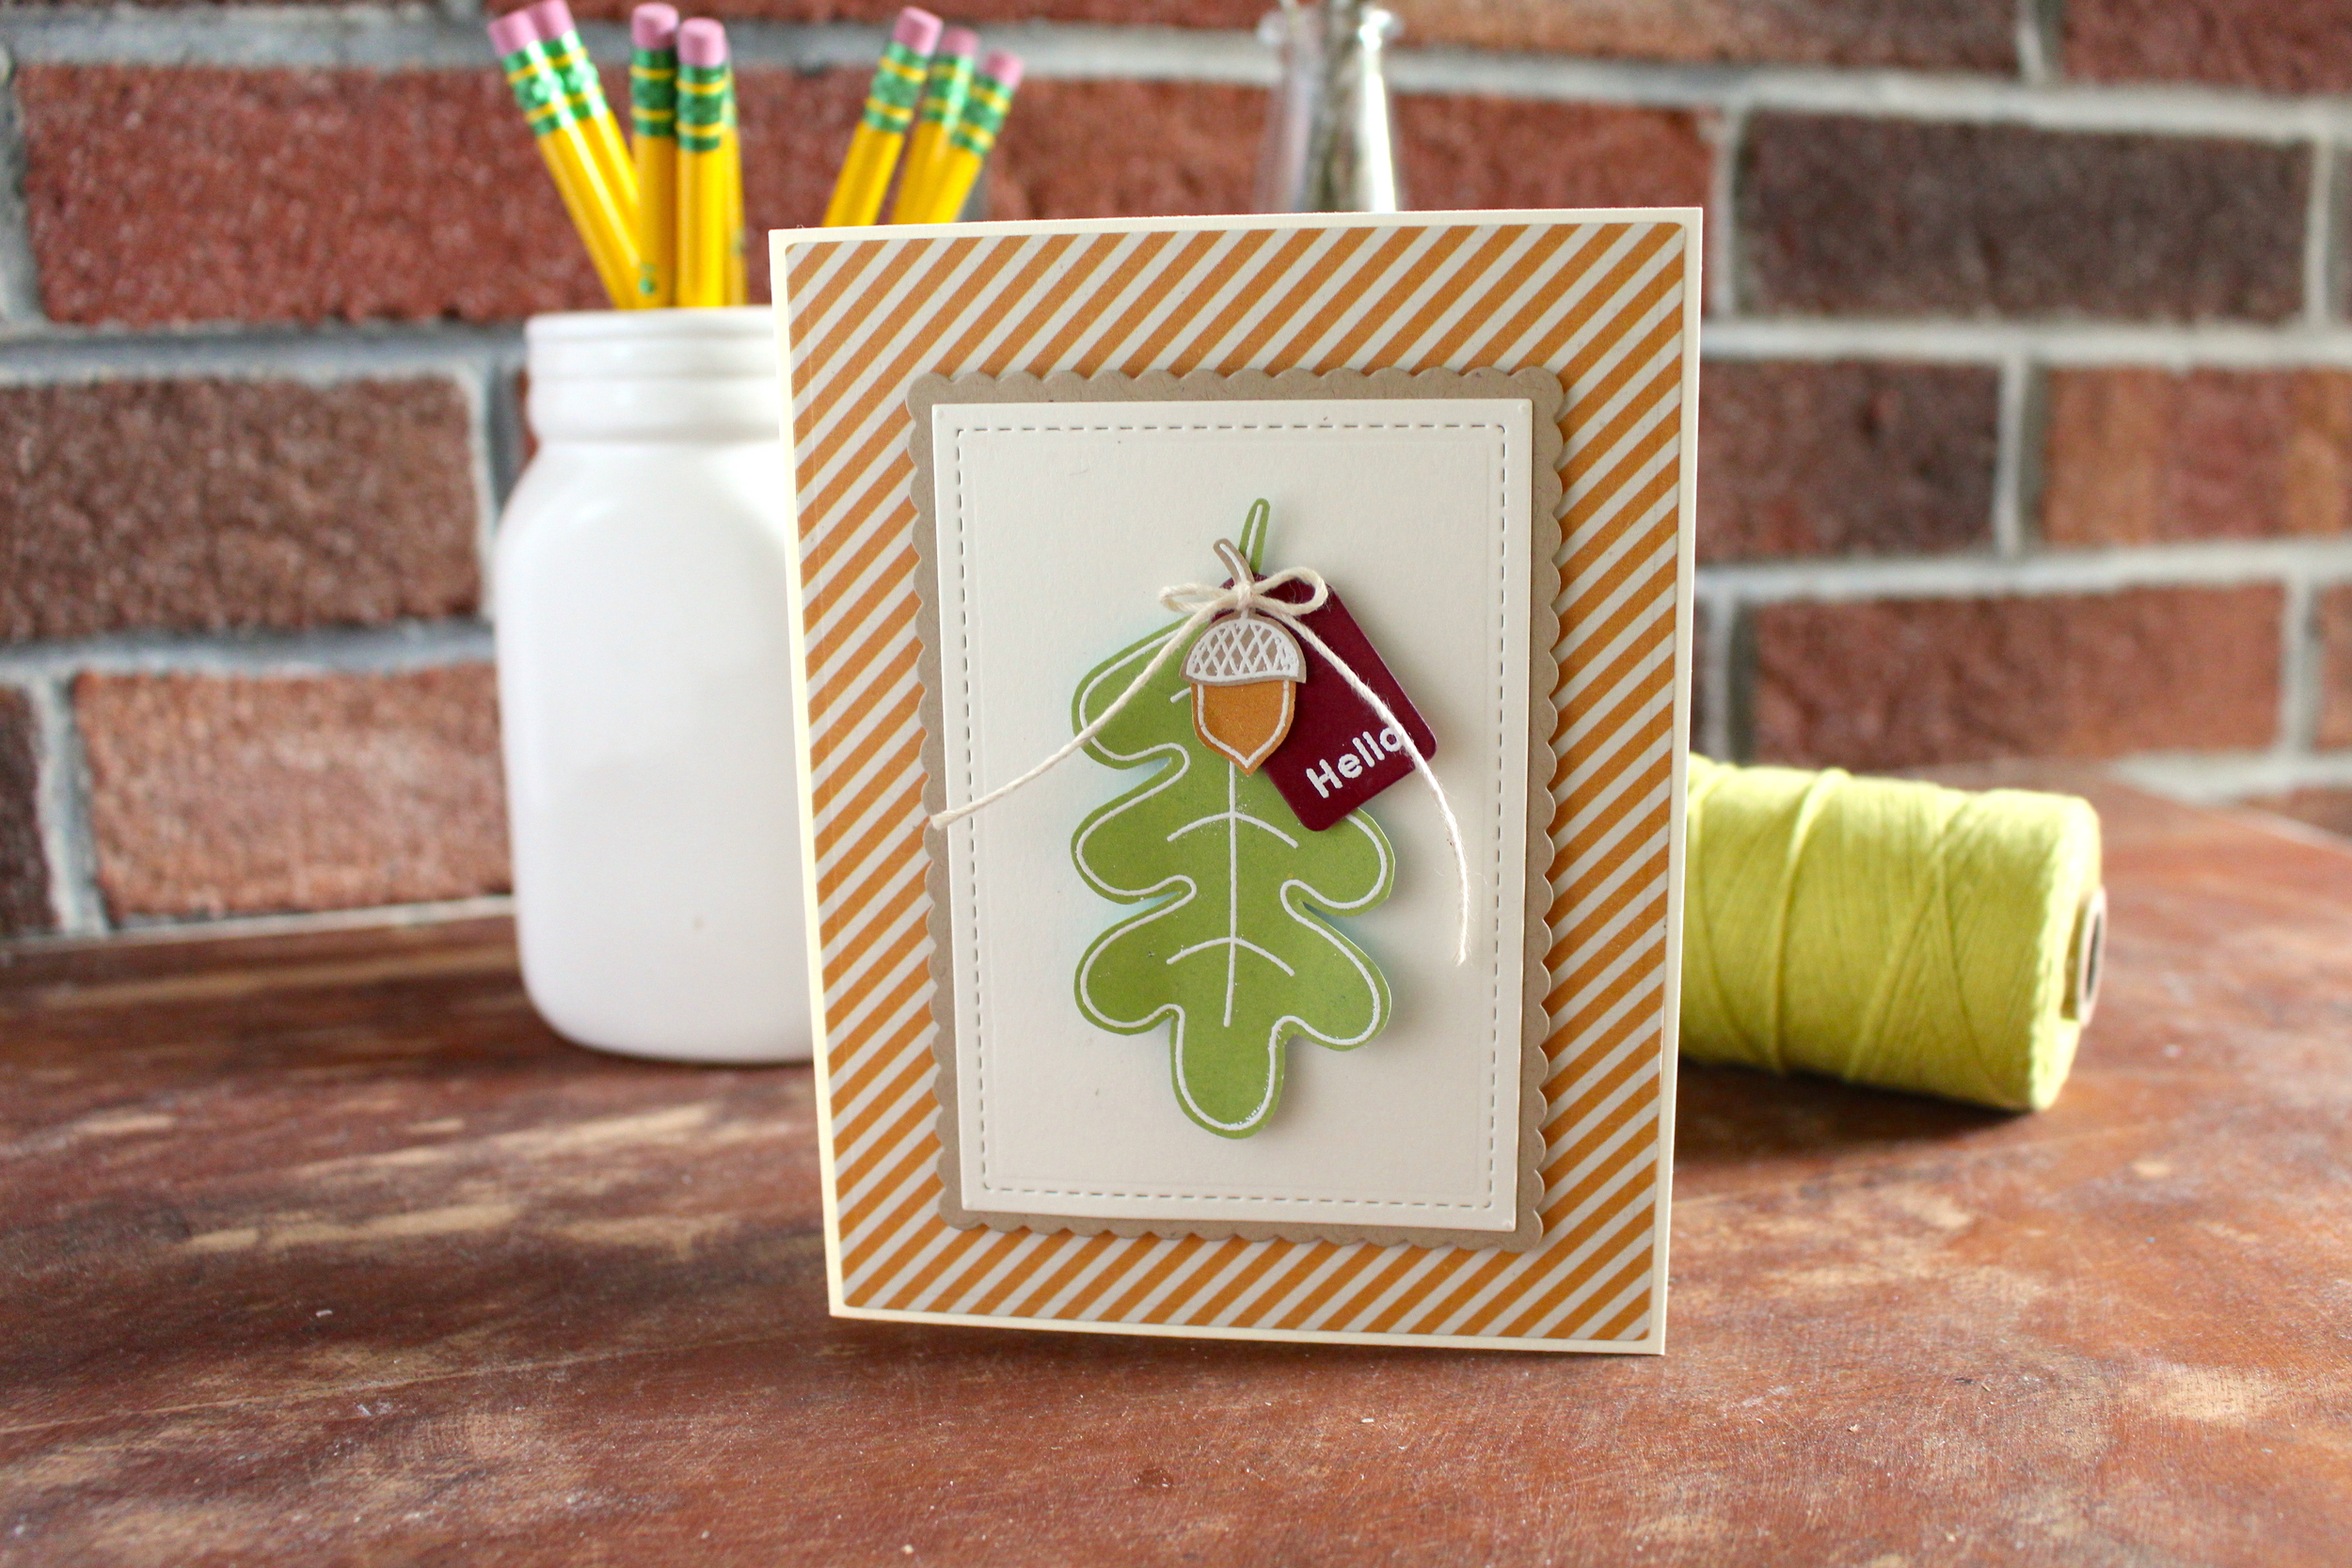
I adhered these elements onto a white stitched panel with a kraft scallop. I wanted to add a little fun touch so I tied a twine bow and adhered it where the foliage overlapped. I used a orange diagonal striped paper for the background to add some more interest. I would have to say my favorite pattern for cards is diagonal stripes...seriously...love!
Thinking of You Card
My final card is one that is both time-consuming and fun to create. I started by, you guessed it, white heat embossing a ton of leaves onto some cardstock. Then I grabbed a bunch of Distress inks and started blending various colors together to create a variety of colored leaves.

I wanted the leaves to be the main focus of the card so I adhered them across the center, slightly lifting up some of the corners to create dimension. Underneath I adhered a burgundy scallop and more of the plaid stamped paper. I wanted a simple sentiment that I could tuck up into the corner so I used "thinking" and "of you" from my sentiment set to finish the card off!
I hope you have enjoyed all of the cards that I had to share with you today using my brand new fall stamp sets! I have been anxiously awaiting the launch of these sets as I want to see what you create with them. If you are interested in the sets, you can find the Fall Leaves here and the Fall Sentiments here.
Hope you are as ready for fall as I am!
Nicole