Merry & Oh So Bright Bells & Baubles Card
Eep!
Christmas will be here in less than one week and I still have a few posts queued up to share! One of them is today’s card that I created using a multitude of items from my November release. You may want to get out your sunglasses because this project is very merry (and oh so bright!).
Let’s get started…

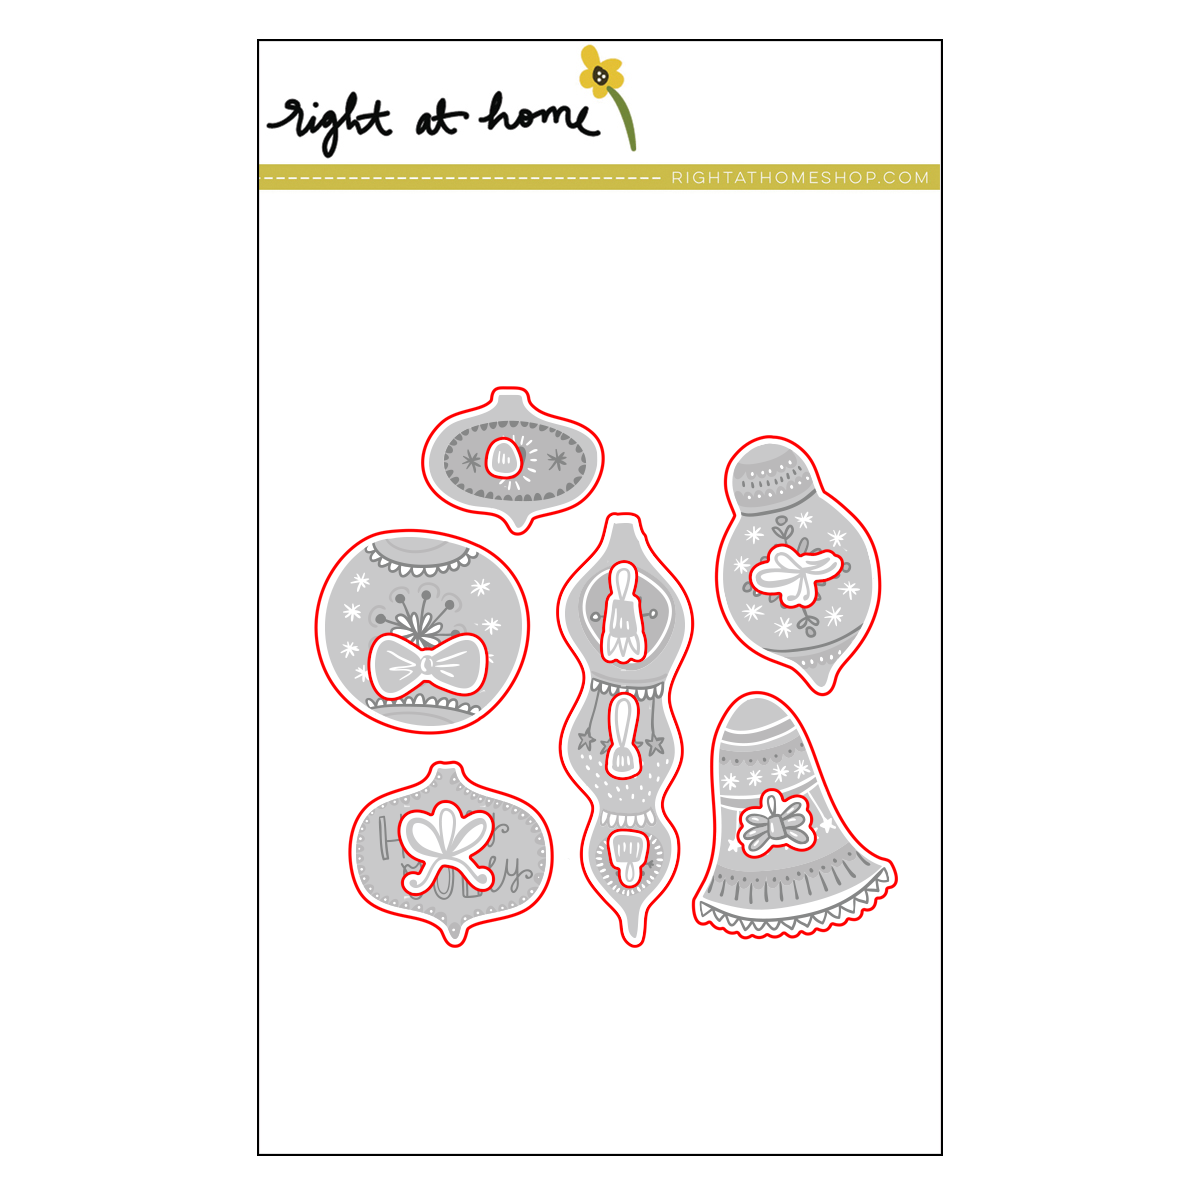
You see what I mean? This card is layered to the max and uses every color under the rainbow…but that’s just how I like it! Anyways, I started this card by stamping out all of my layered ornament images from Bells & Baubles onto their coordinating die cuts. I used a variety of ink colors but tried to keep the color palette consistent for each ornament. Once I finished those, and still had my inks out, I moved onto the background panel.

Using my Snow Flurries Background Stamp I created a whimsical backdrop for my card design. I stamped the base snowflake layer in a light mint color and added in all the fill-in snowflakes using the same color palette as the ornaments. I added in a few neutral colors as well to round out the palette. Now that I’d stamped my little hands off, it was time for the focal panel.

Along the bottom of a white, stitched rectangle I used one of the greetings from Fa La La and stamped that in a crisp, black ink. Now it was time to assemble my ornaments! When I was playing with the arrangement I felt like I needed something along the top for them to “hang” from. I pulled out my Seasonal Wreath Die Set and die cut a few of the wreath from a panel inked with Peeled Paint Distress Oxide ink. I snipped the wreath apart and layered them to create a garland along the top of my panel.
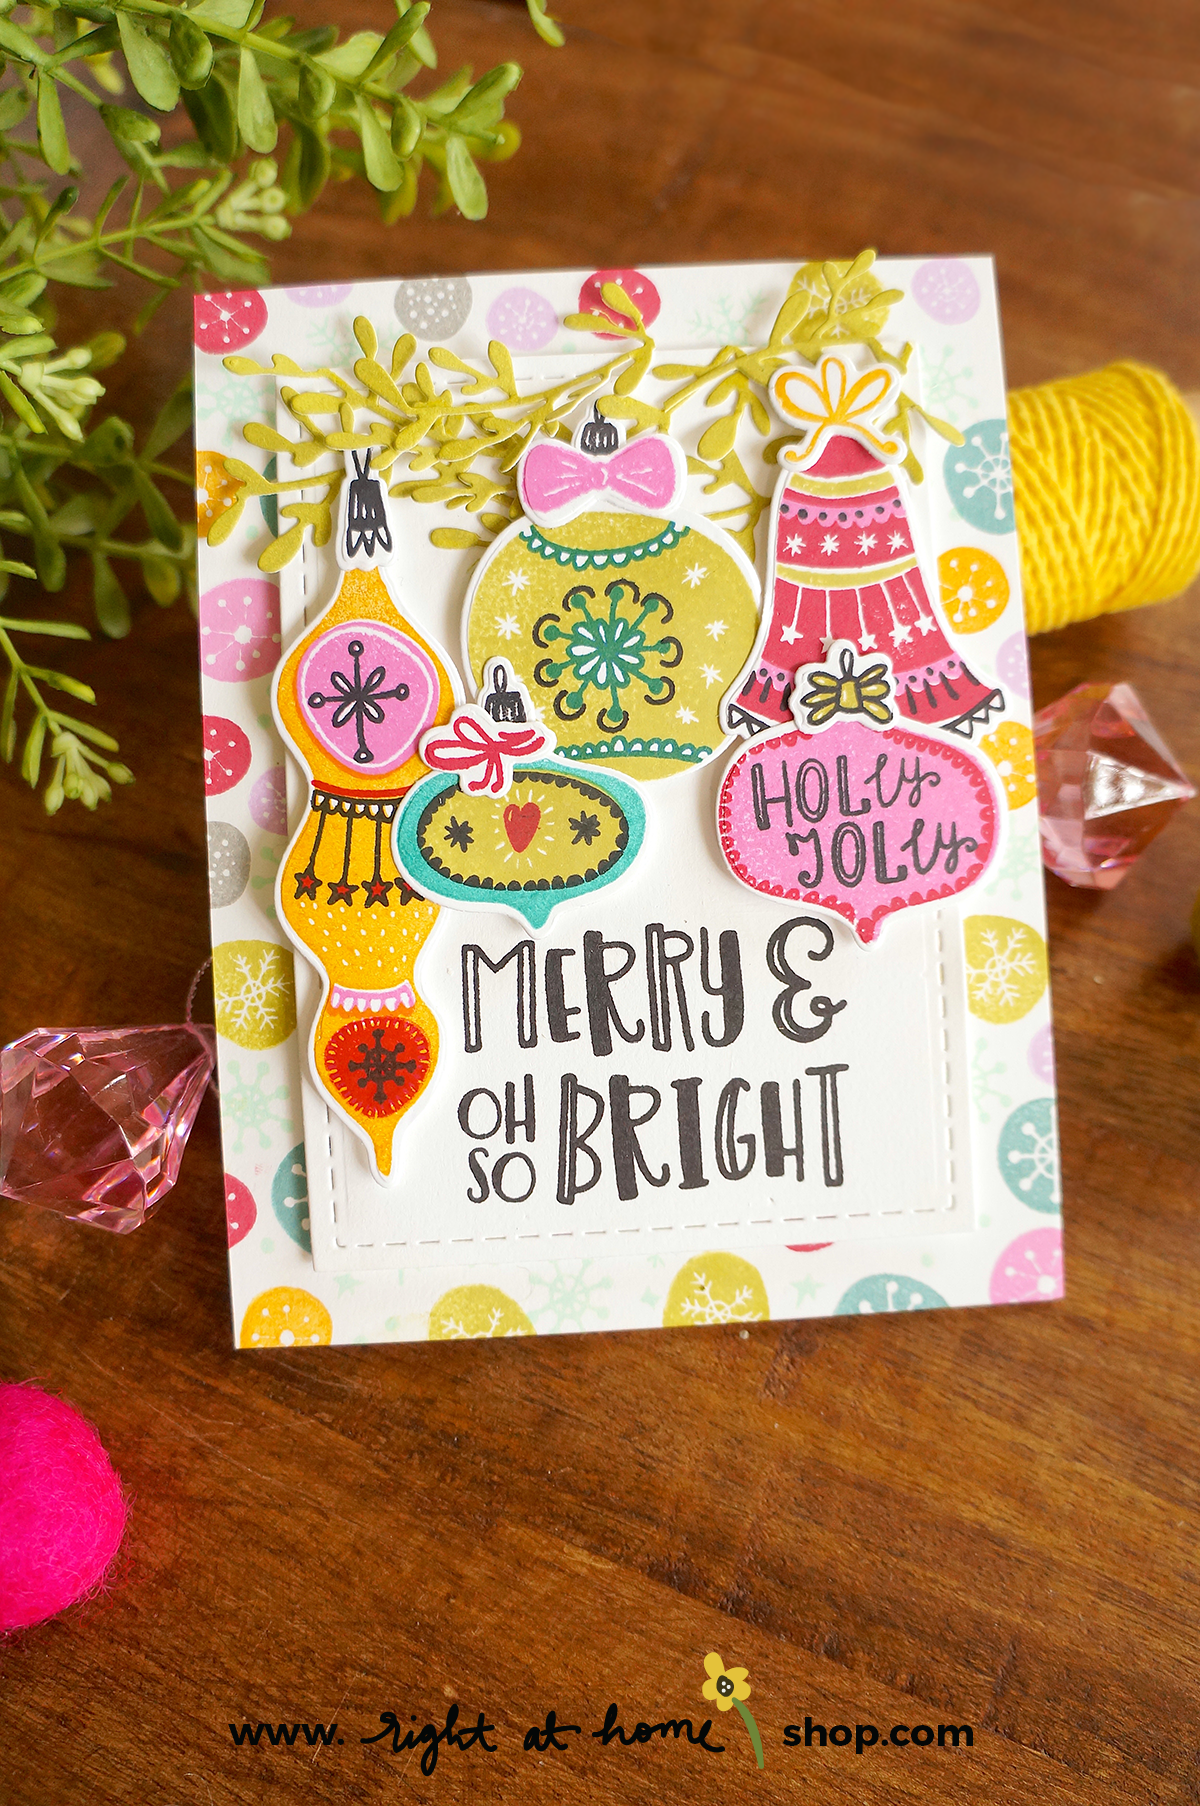
I nestled in the tops of the ornaments between the leaves and added the ornaments right below. Any ornament that had an accessory like a bow was adhered using tape runner adhesive. Once my panel was finished I popped it onto the background panel which was adhered to an A2 size cardbase. And my merry, bright and festive holiday card was finished!
Watch me stamp and assemble these beautiful baubles in my process video below…

I hope you enjoyed today’s card! If you’re a lover of color and layers then I think you will.
Stay tuned for a few more holiday posts coming soon!
Nicole