Freshly Picked Stamped Bouquet Card
Hey, hey.
I hope you had a great weekend. We had a quick glimpse of spring that quickly faded into blistering winds and little snow flurries. Luckily today's a holiday here in MA so I get to stay inside nice and bundled. While cozied underneath a blanket I'll be dreaming of spring. Perhaps I'll set up all the spring cards I've been making lately and pretend I'm in a flower market. I can dream.
Anyways, today I created a super simple card using my new Freshly Picked stamp and die set. You may have seen this card featured as a sneak peek during release week. I'm so excited to show you how I made it!
Let's get started...
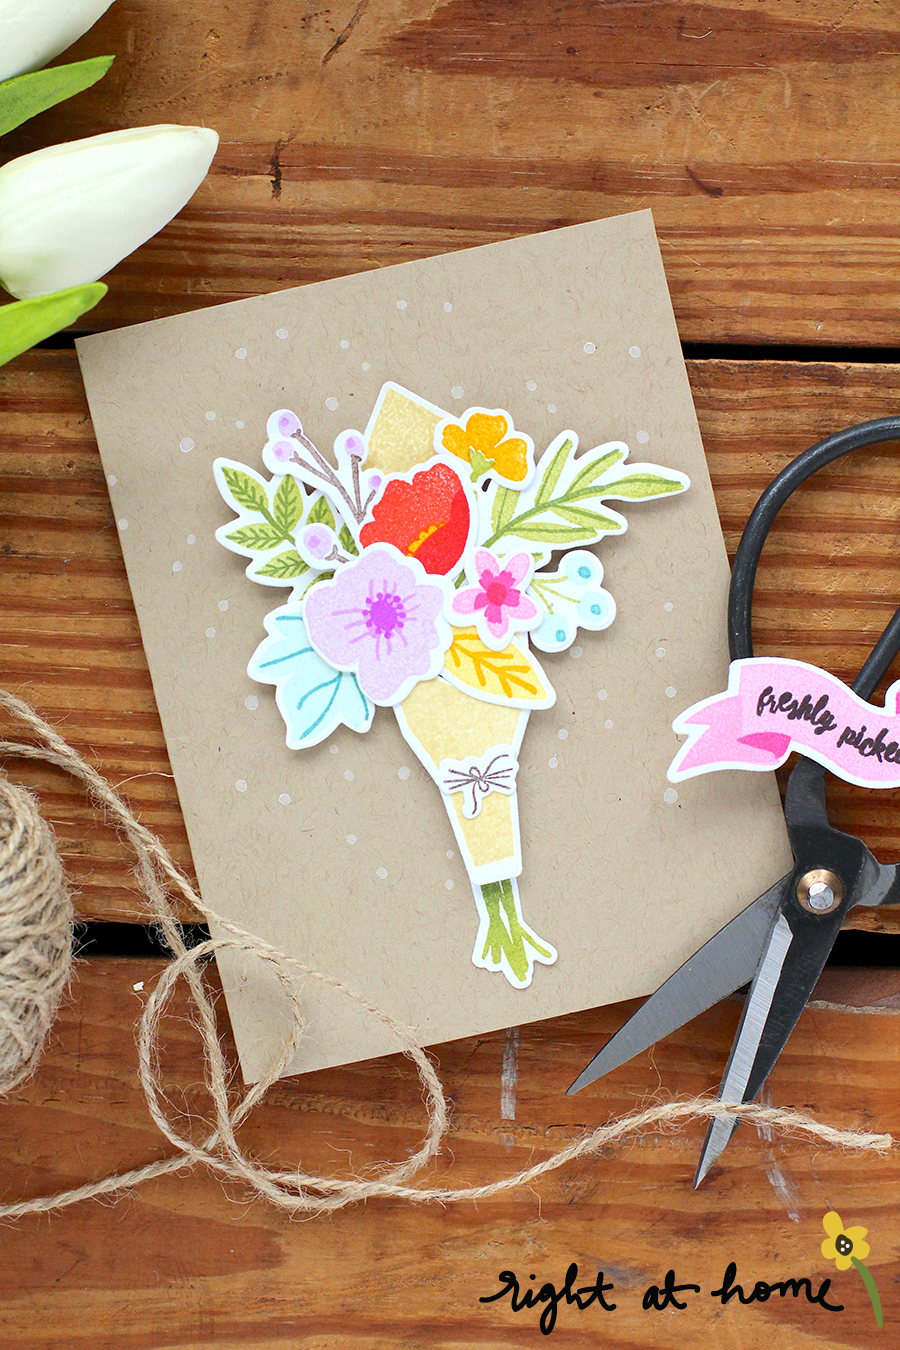
To start my arrangement I stamped the paper wrap image and little triangle onto the coordinating die-cuts using Antique Linen Distress Oxide Ink. I love this color for a light kraft paper look. From there I moved on to stamping all the floral images in different Catherine Pooler inks. I had way too much fun stamping all these sweet images.
Once all my florals we stamped I worked on building my banner. This image has three different layers that can be used to create a dimensional looking banner. I started with the solid base in my lightest color or ink, stamped the two tail ends over top in the same ink (it will appear darker since there is already a stamped layer beneath), and finished with the two shadow pieces in my darkest ink. The result is so spectacular and becomes even more so when you add a sentiment on top. I stamped "freshly picked" from my Thanks a Bunch stamp set.
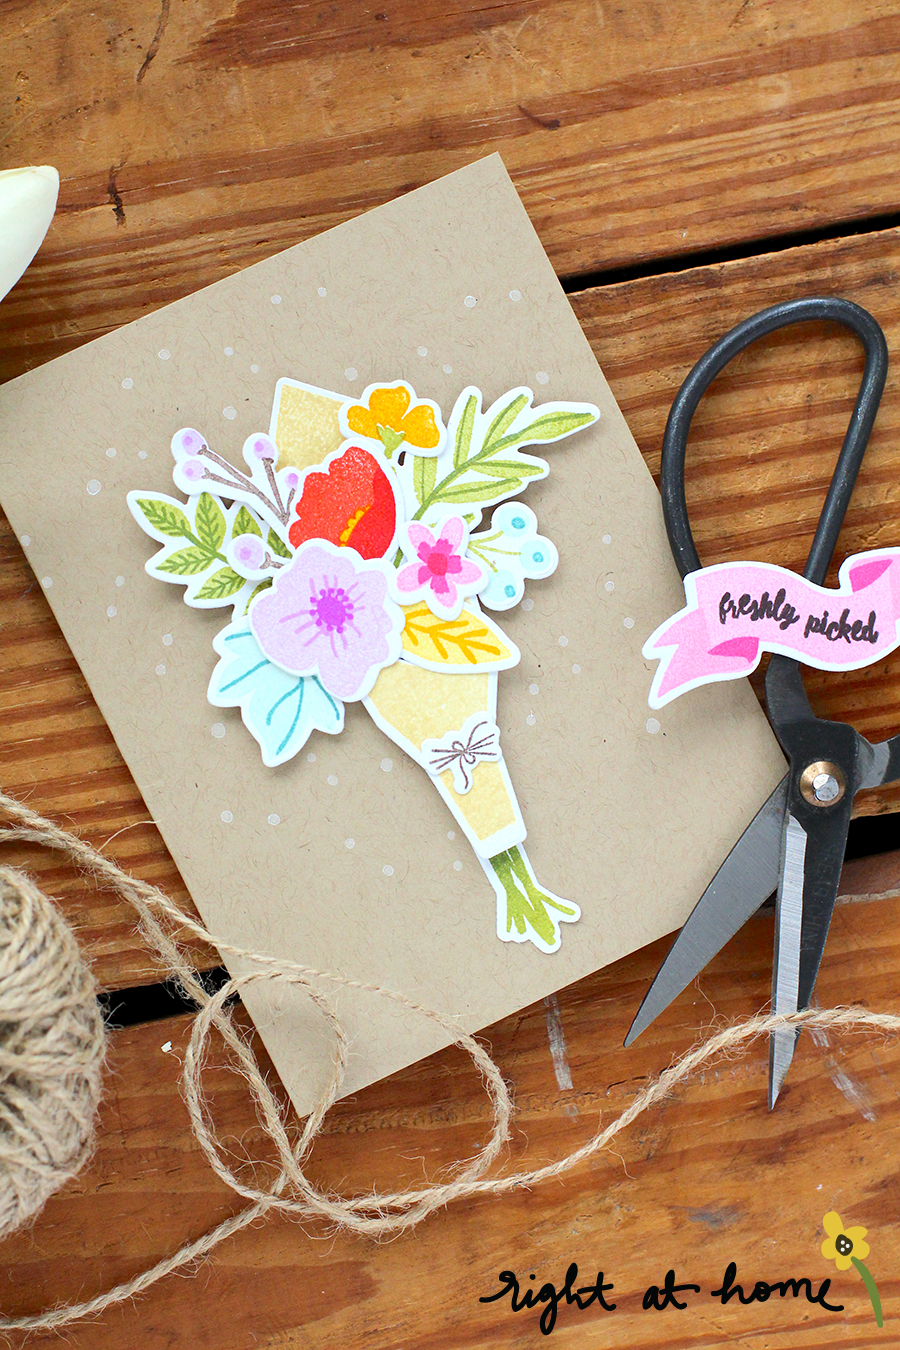
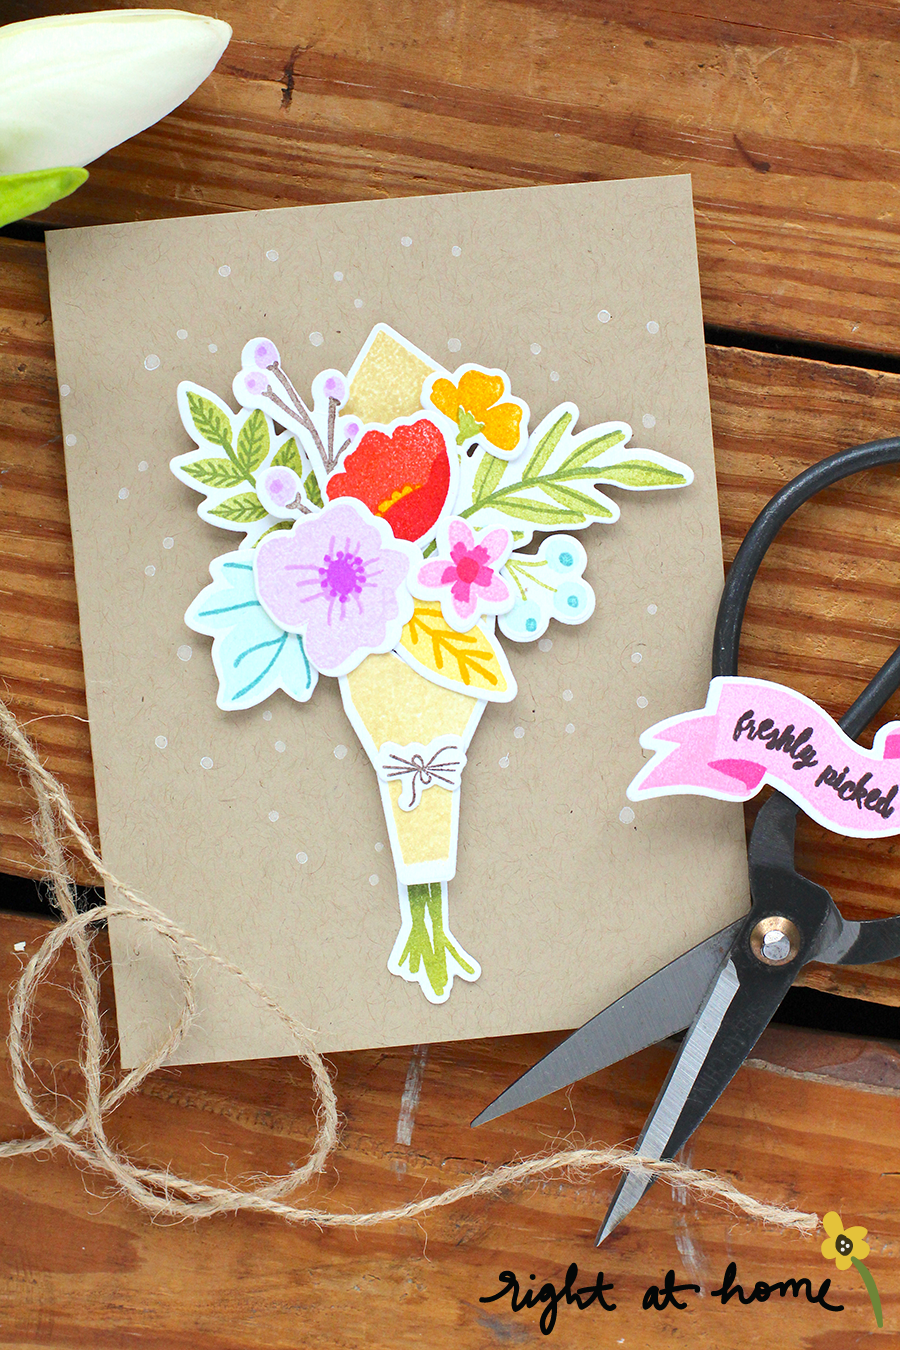
Next I got to work on assembling my freshly picked bundle! I used both foam tape and tape runner adhesive to glue all the elements onto a kraft A2 size cardbase. I encourage you to have fun making your arrangements, but if you do need a little help you can download my stamping guide here. Once you have all the florals arranged, you can add in the little triangle piece at the top of your bouquet to make it look as though your entire bundle is wrapped in paper. I also stamped a few dots in a white pigment ink around my bundle to add some more detail.
Watch me put together my bouquet in my process video below...

In the video I showed you two options of how to finish off your bouquet: add the twine bundle or stamped banner. Make sure to let me know which is your favorite in the comments below!
As usual, I can't decide.
Nicole

6 in x 8 in stamp set
Mix & match the different floral and leaf images to create a gorgeous spring bouquet. Tie your bundle together with the sweet little twine stamp or add a banner stamped with a coordinating sentiment from the Thanks a Bunch stamp set.
Download the Freshly Picked Stamping Guide
Looking for the coordinating dies? Click here.
- - - - - - - - - -
Looking for inspiration specific to this product? Check out our Idea Gallery for ideas categorized by stamp set.
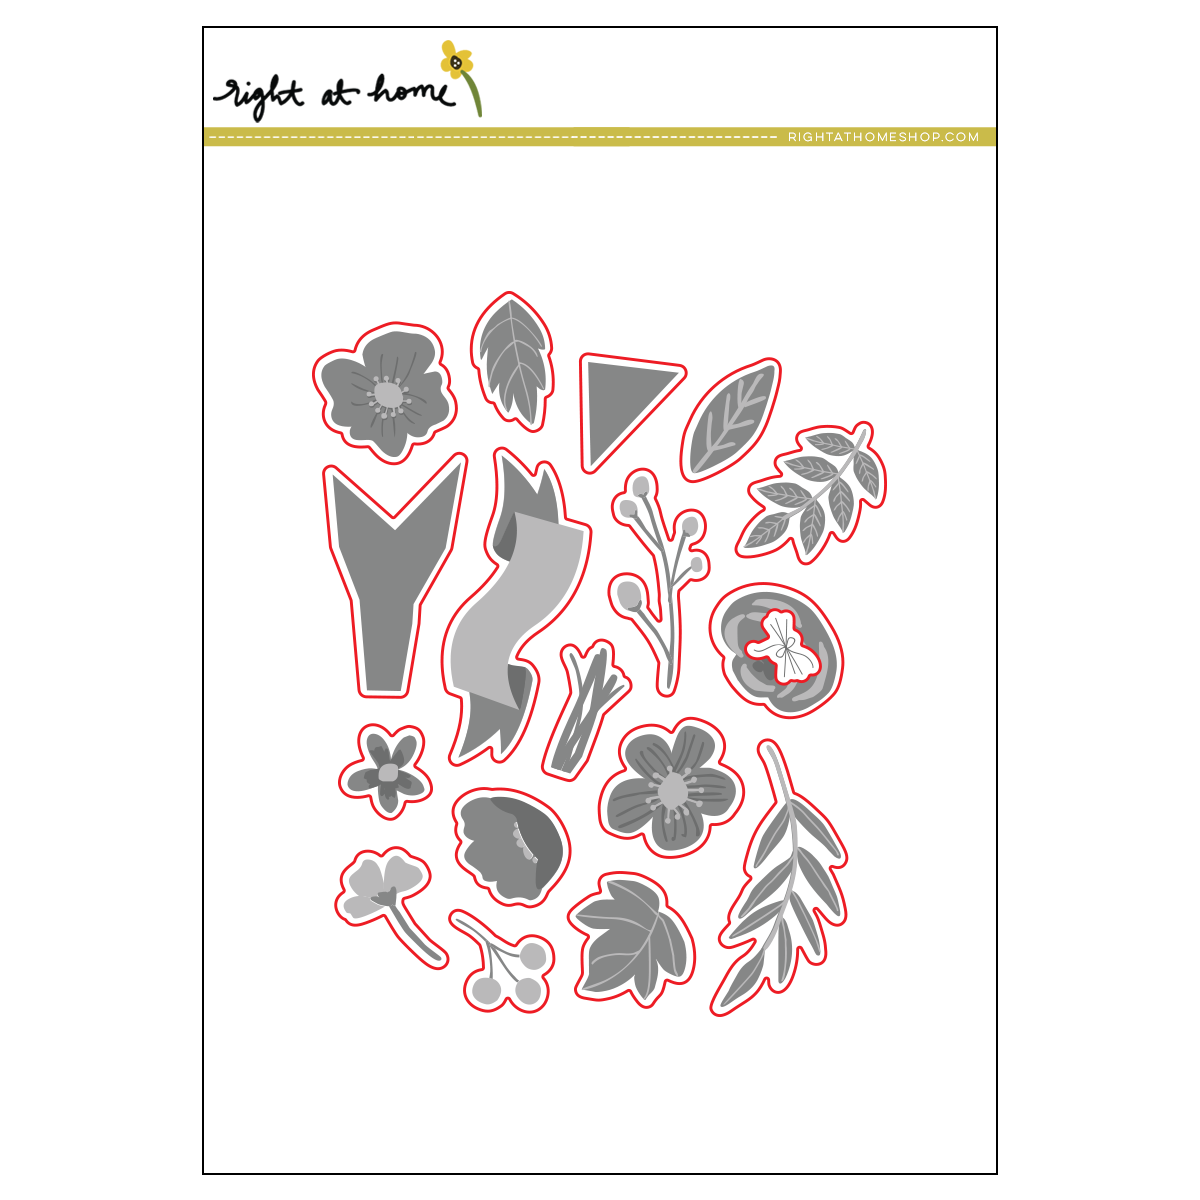
Coordinates with the Freshly Picked stamp set.
Die-cuts each stamped image with a slight border.
- - - - - - - - - -
Looking for inspiration specific to this product? Check out our Idea Gallery for ideas categorized by stamp set.

4 in x 6 in stamp set
Most smaller sentiments coordinate with the banner included in the Freshly Picked stamp set.
Measurements:
Congrats!: 2 1/4 in x 1 in
Thanks a Bunch: 1 1/5 in x 1 in
Happy Mother's Day: 1 1/4 in x 1 1/4 in
Hello: 2 in x 1 3/8 in
Circle: 3/4 in x 3/4 in
Rectangle: 2 1/4 in x 1 in
Smaller sentiments: 7/16 in x 3/4 in to 2 in
- - - - - - - - - -
Looking for inspiration specific to this product? Check out our Idea Gallery for ideas categorized by stamp set.