
Get THE MOST from your Stenciled Backgrounds!
Happy Day #1 of our National Craft Month Celebration!
I’m thrilled to be bringing you two weeks of crafty inspiration and I hope you learn something that inspires you to get in your craft room and create.
For today’s post I’ll be sharing how to get the most from your stenciled backgrounds!
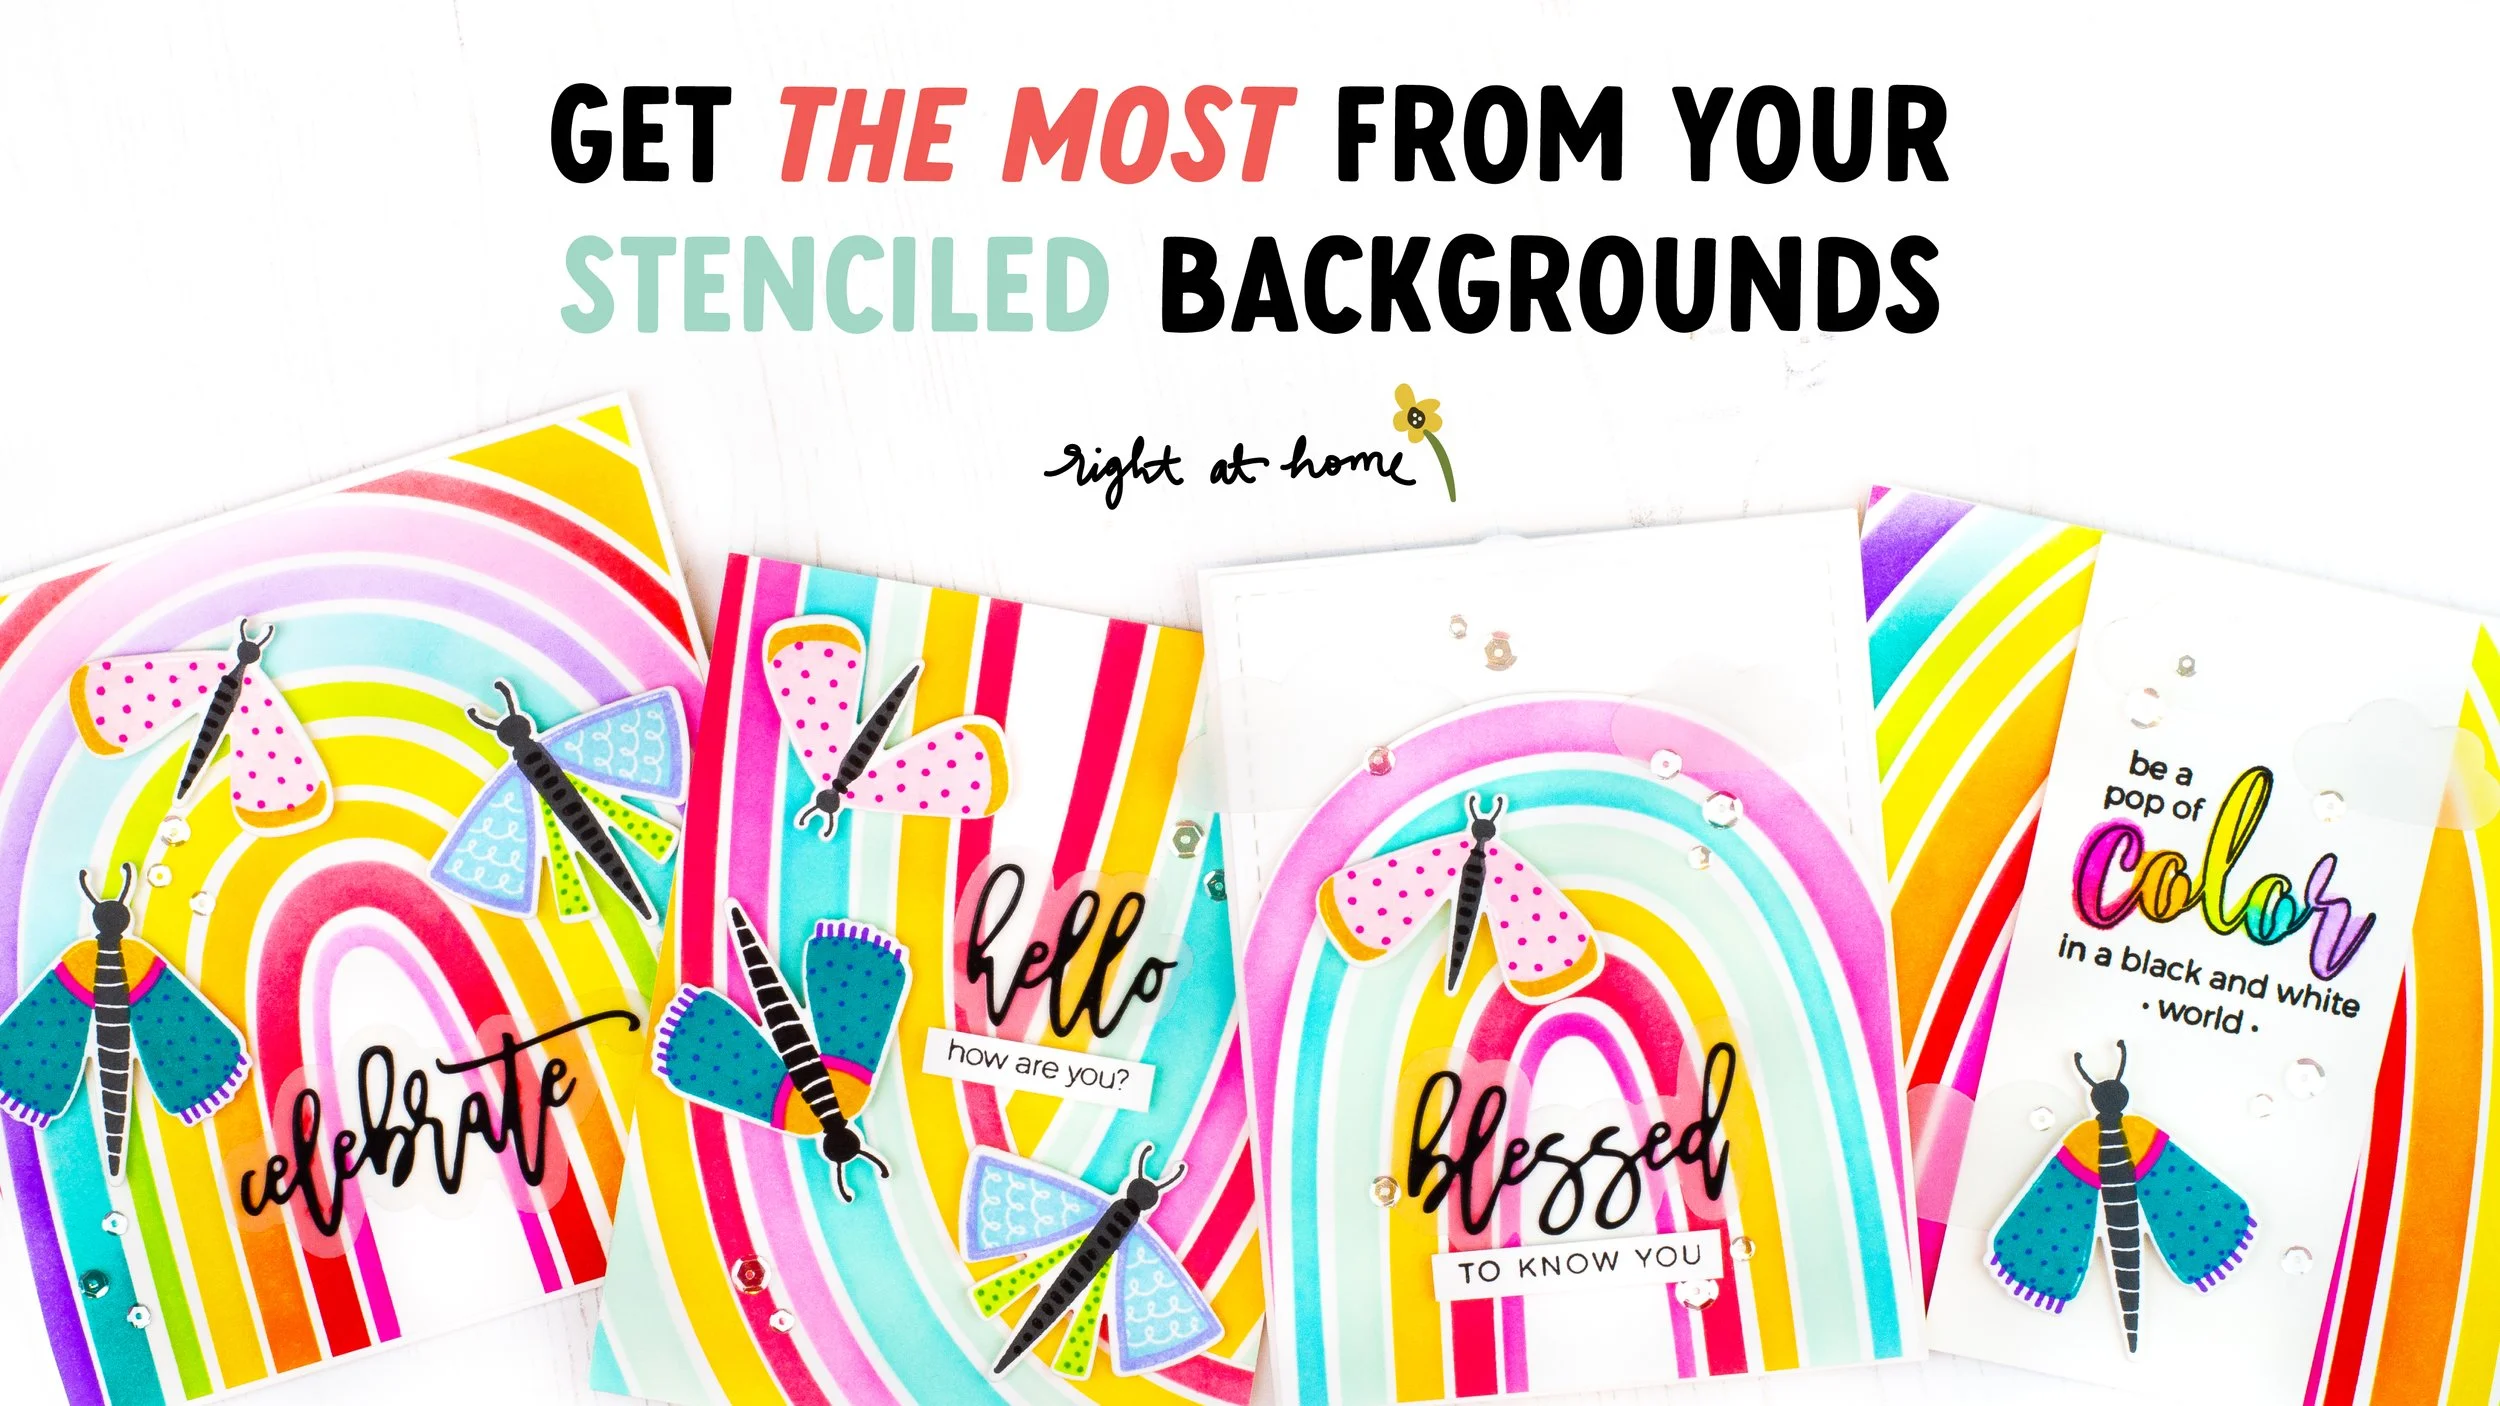
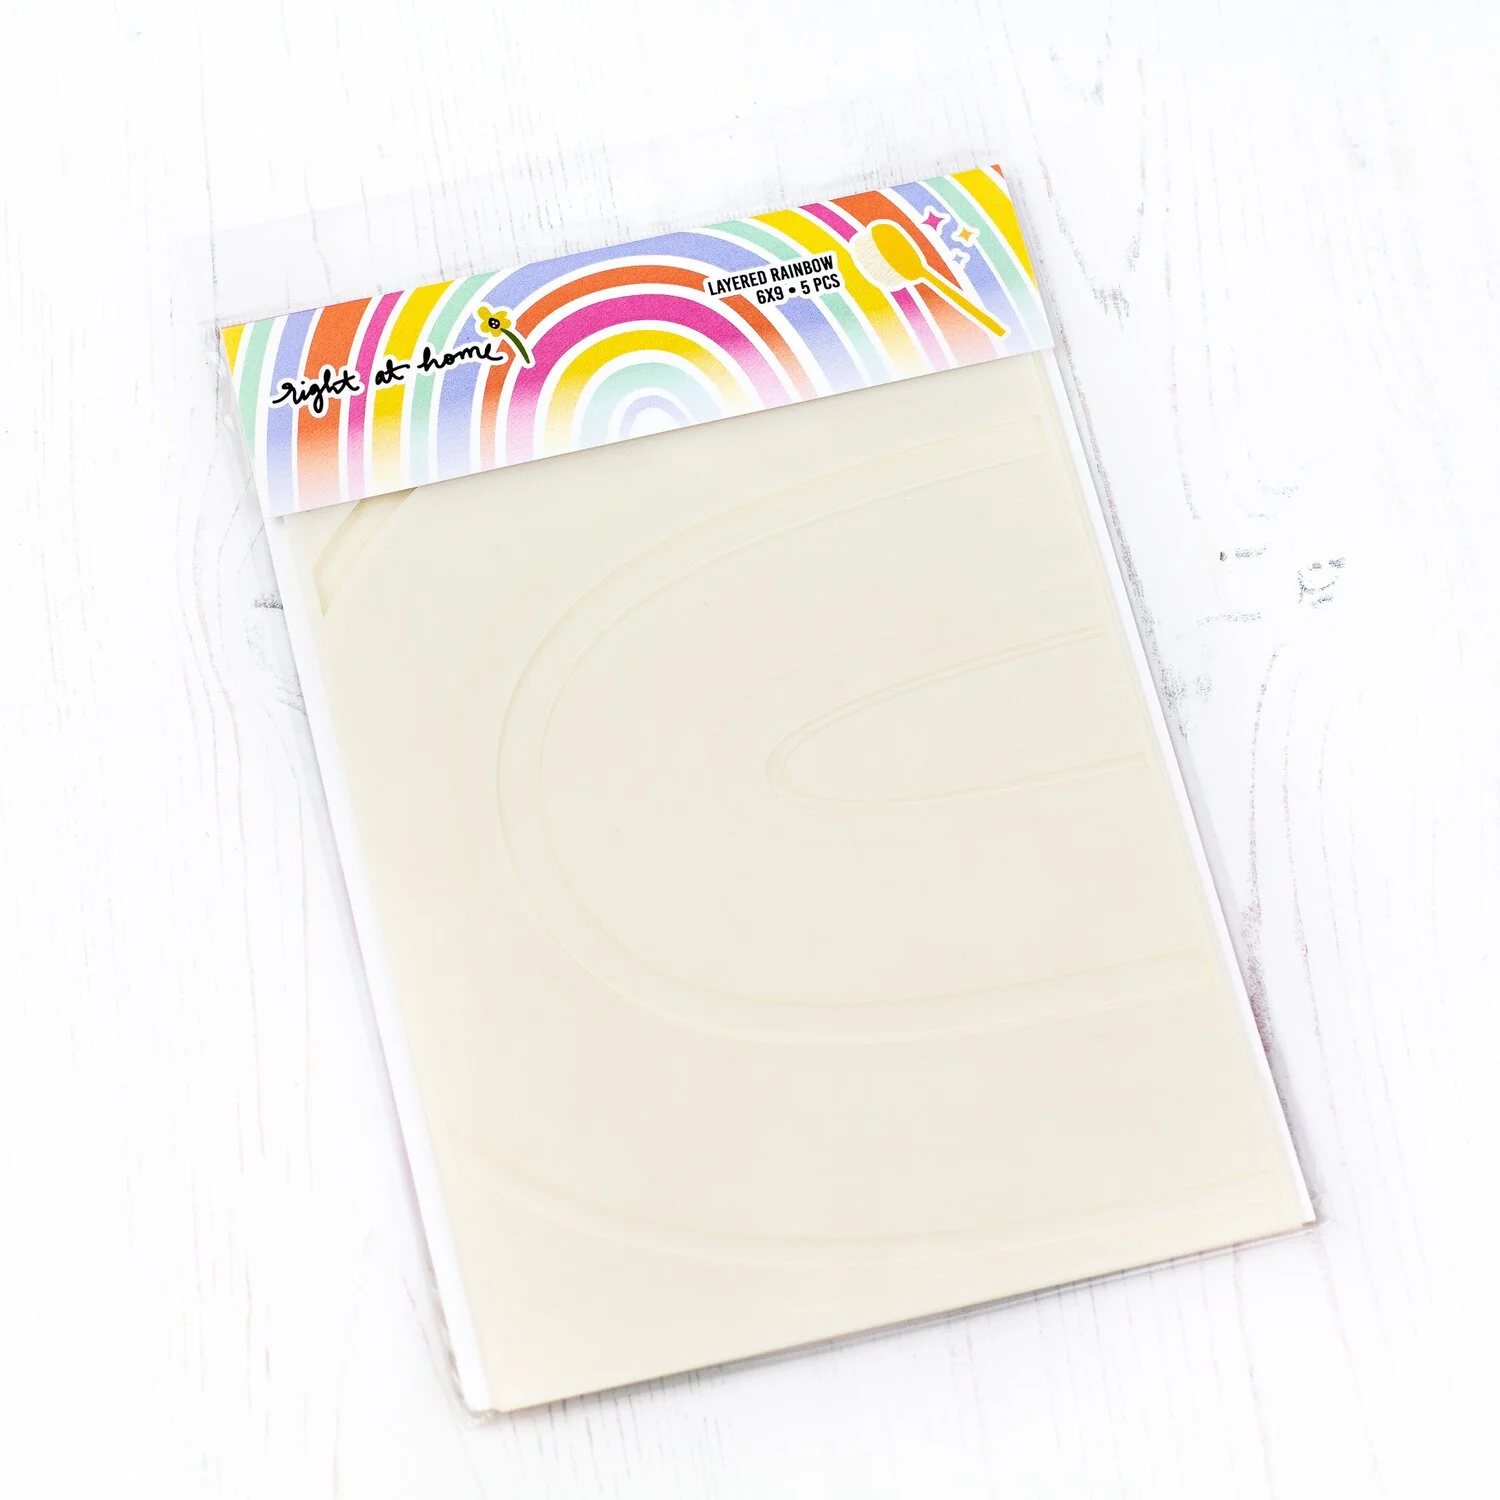
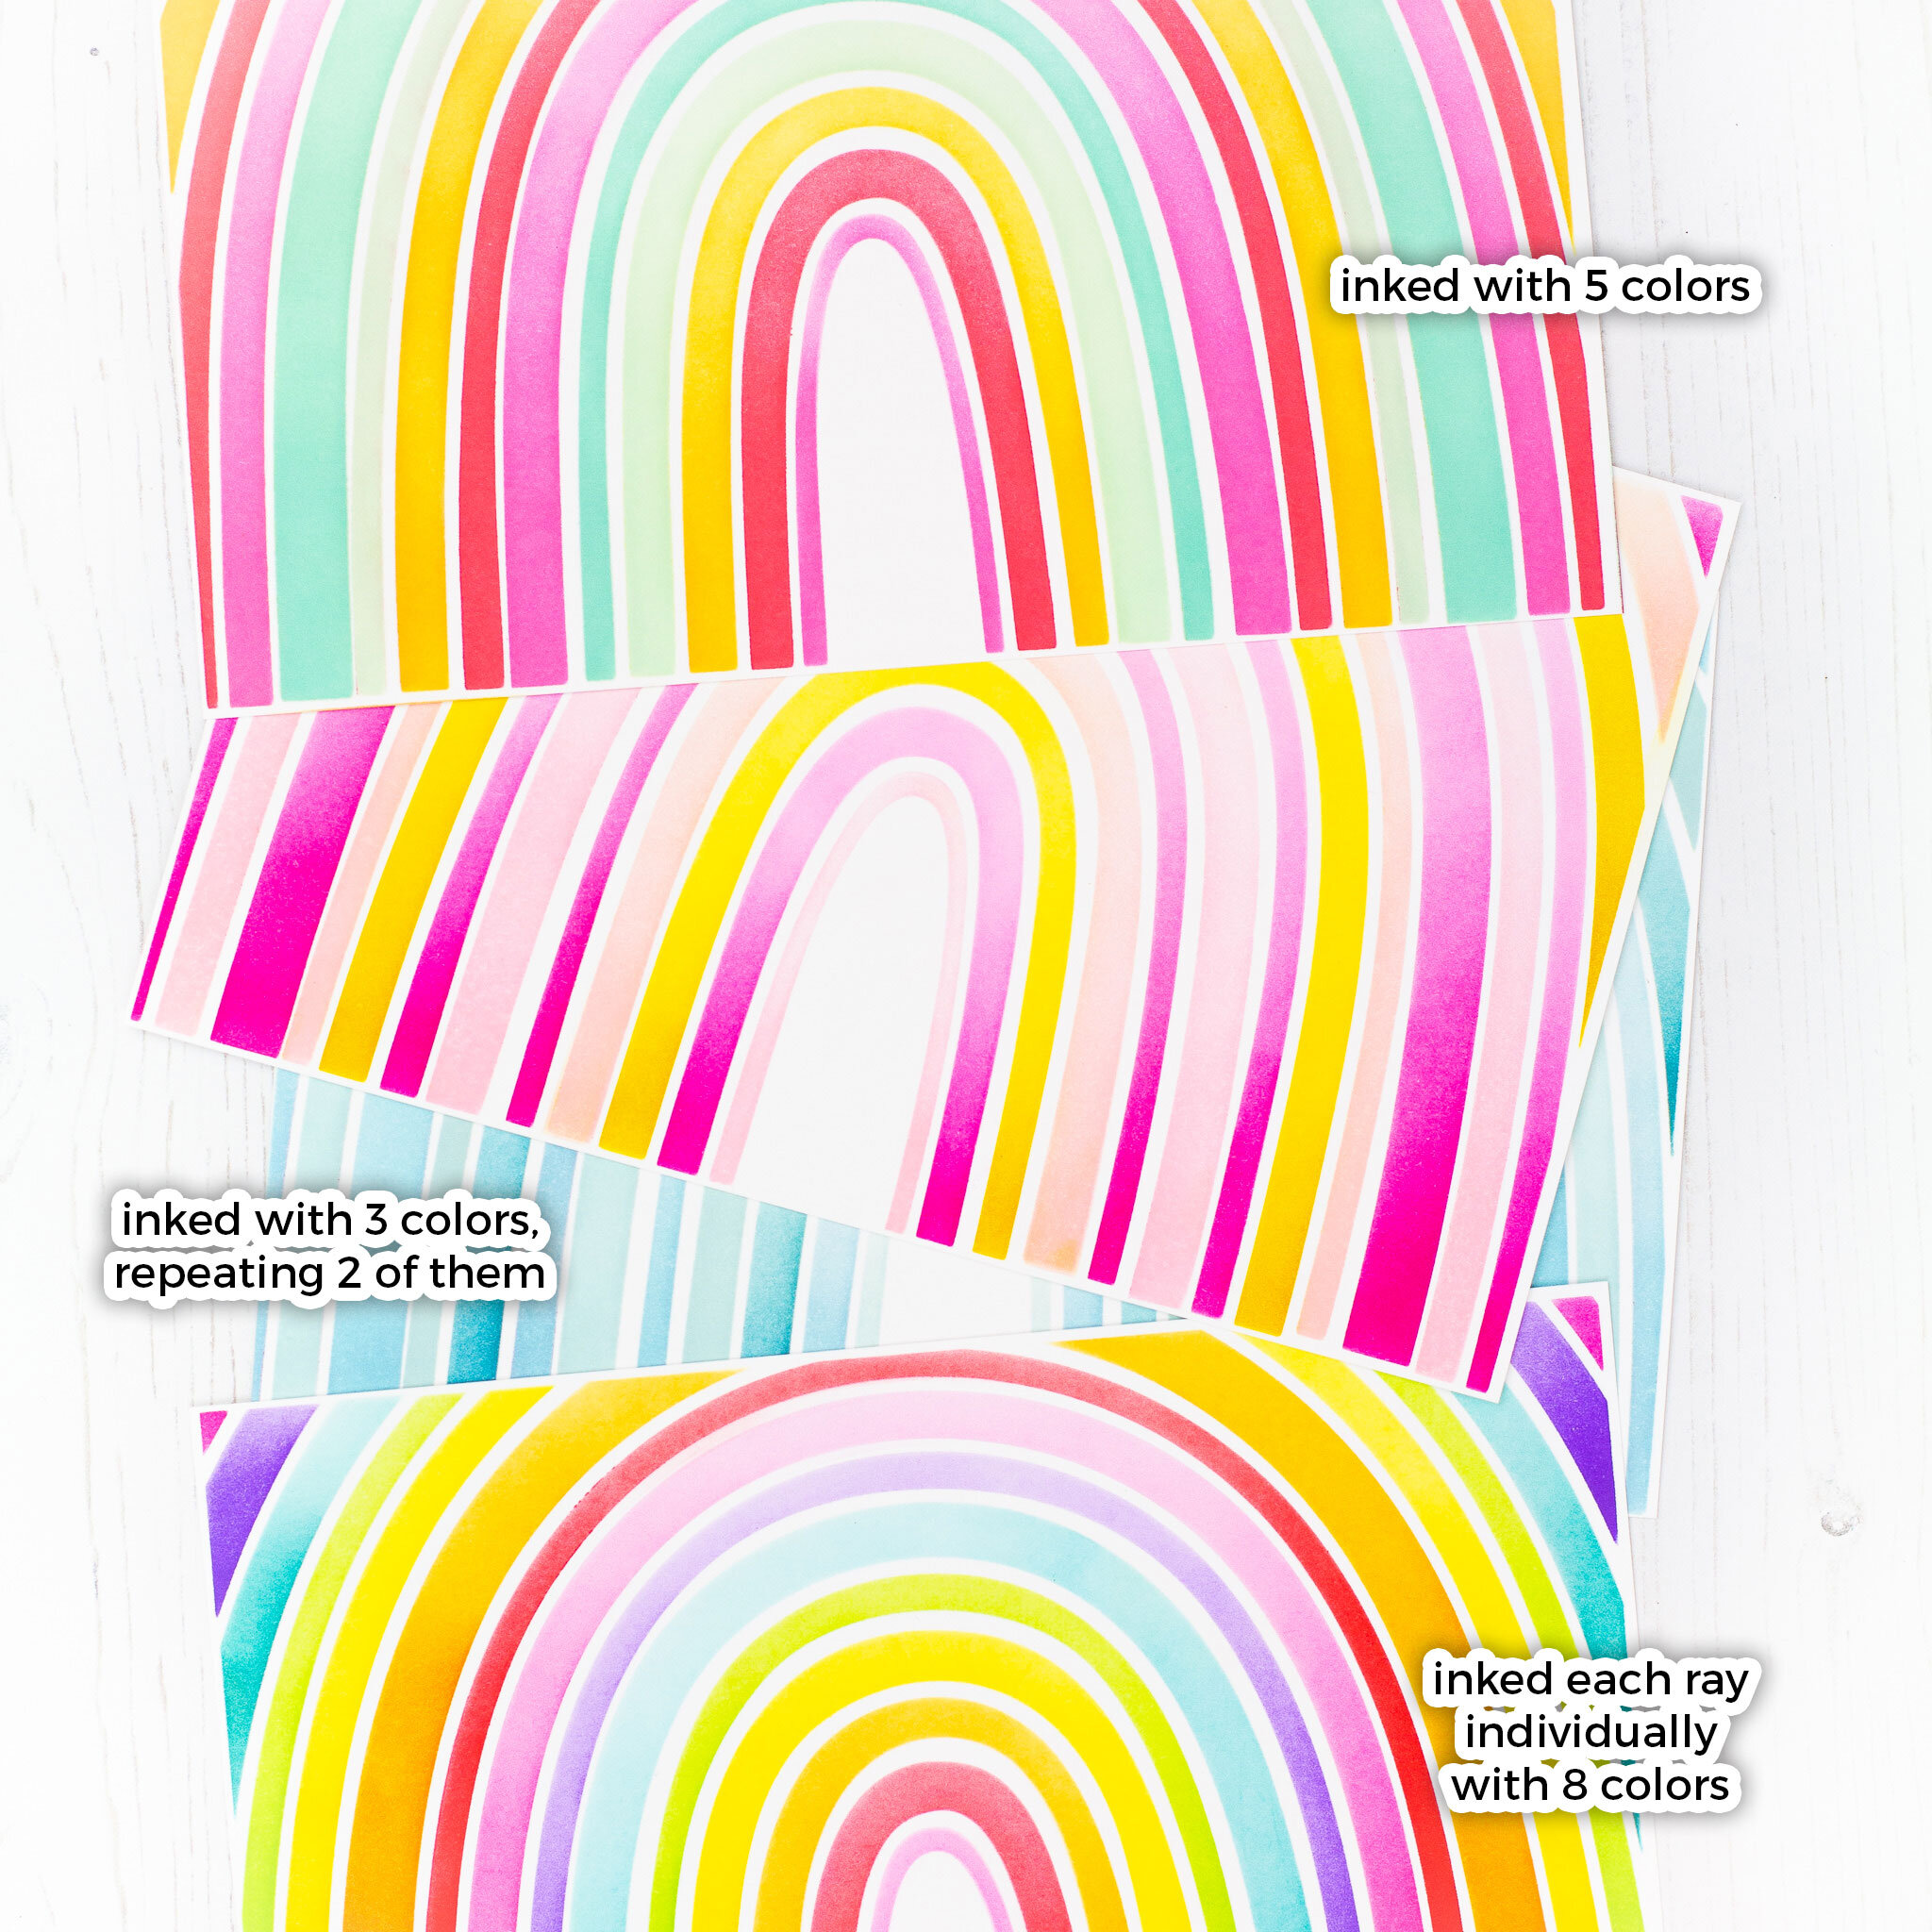
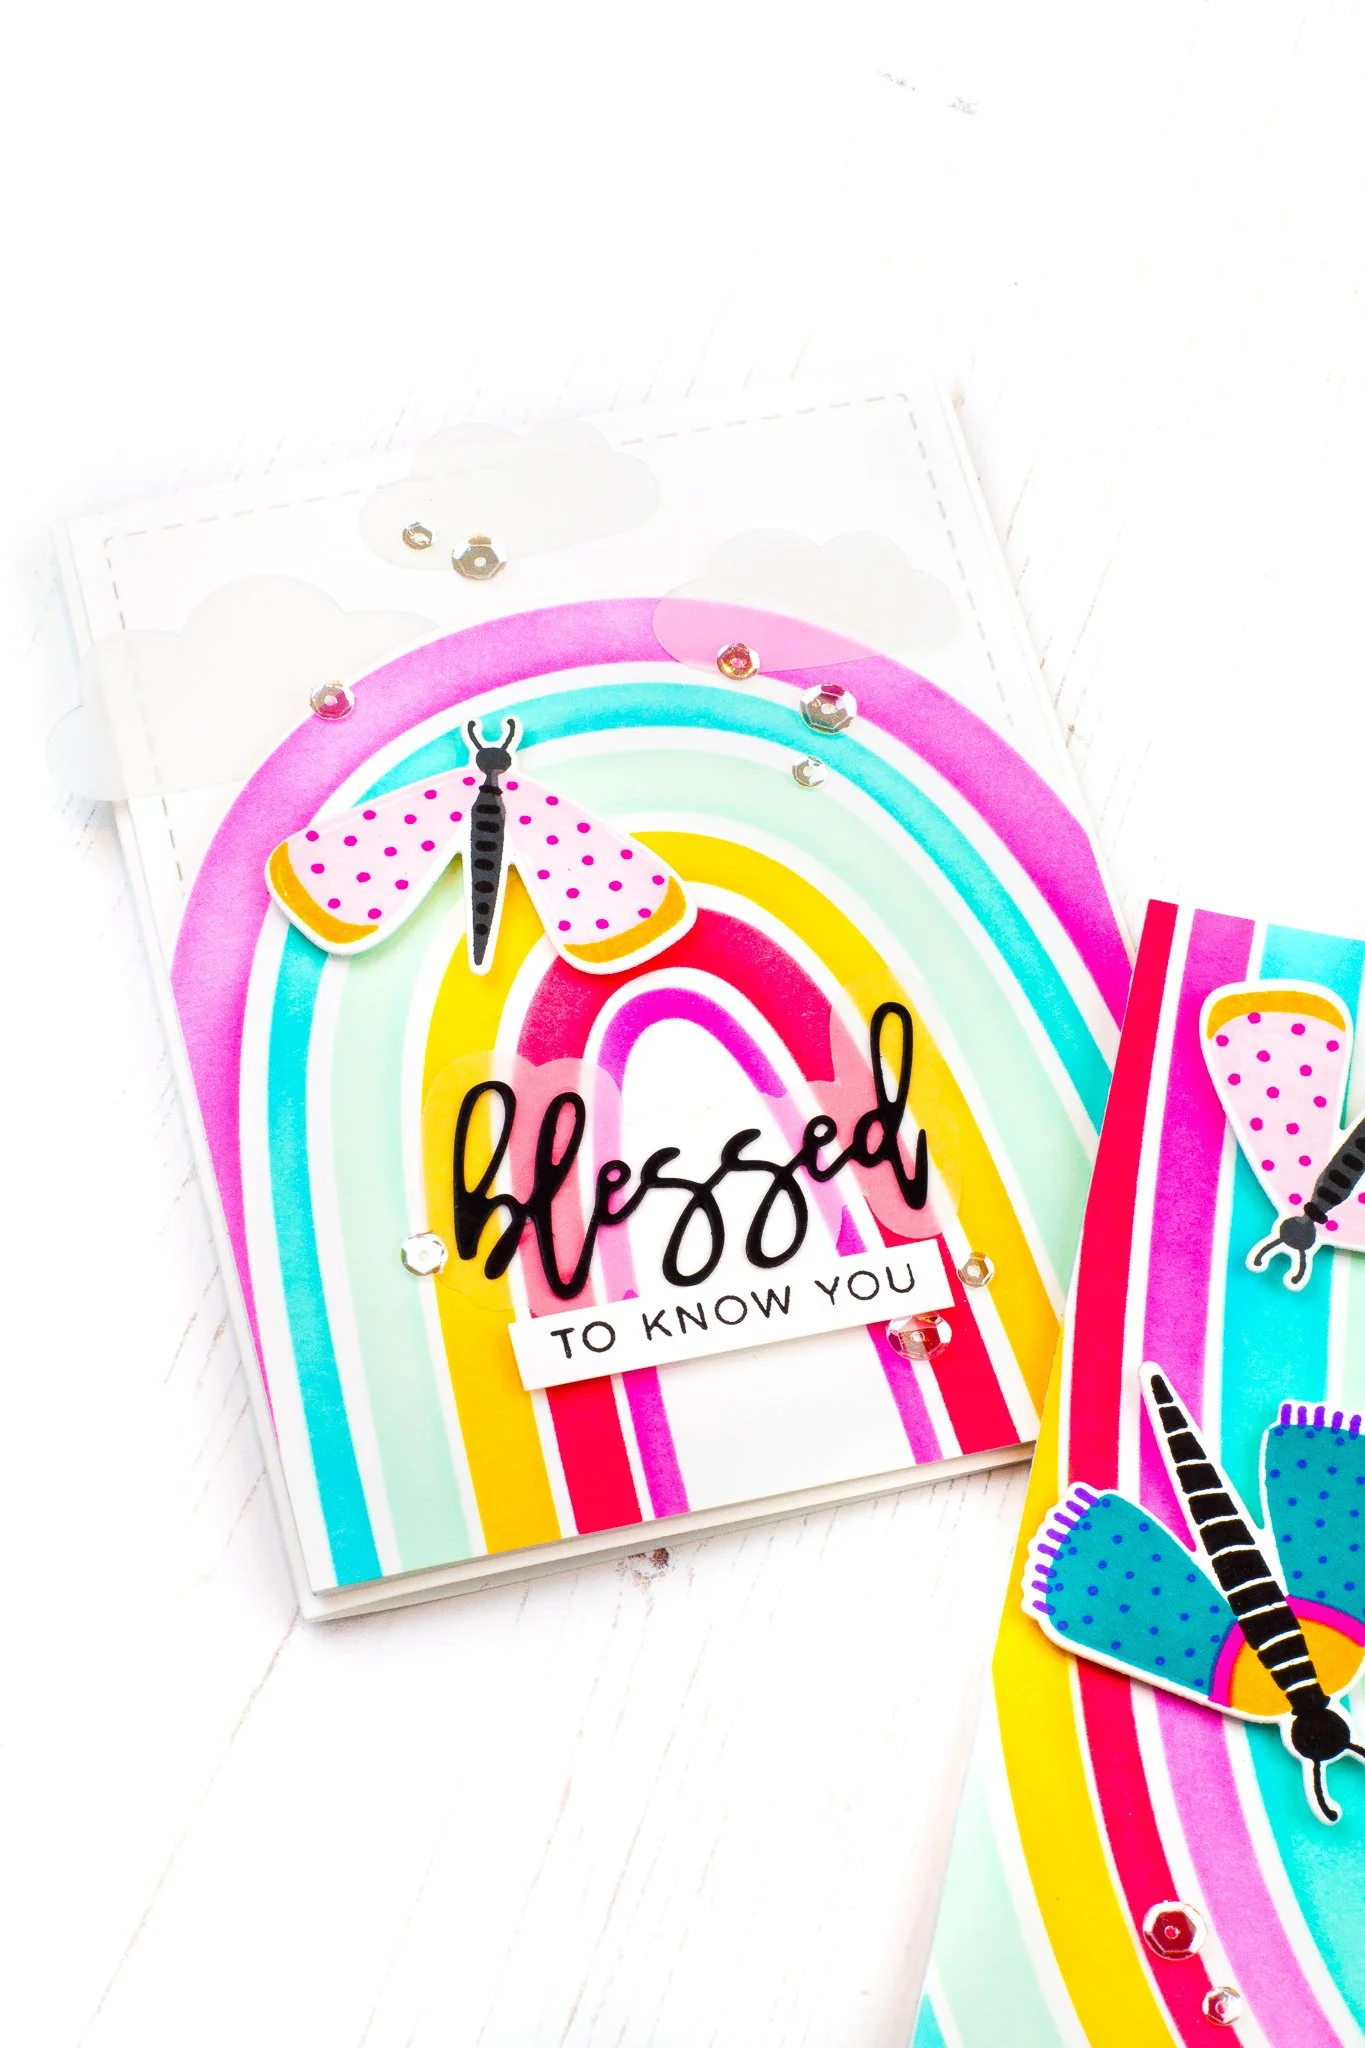
For the cards shown above, I used the Layered Rainbow Stencil Set which is a 6x9 inch stencil set with five layers that fit together to create a colorful, radiant rainbow background. While this set is so fun to play with, it can take a few minutes to fully ink up which makes getting the most usage out of the background a real timesaver.
Here’s two tips for stretching the use of one background to make two card projects:
Tip #1: Strategically Cut Your Backgrounds
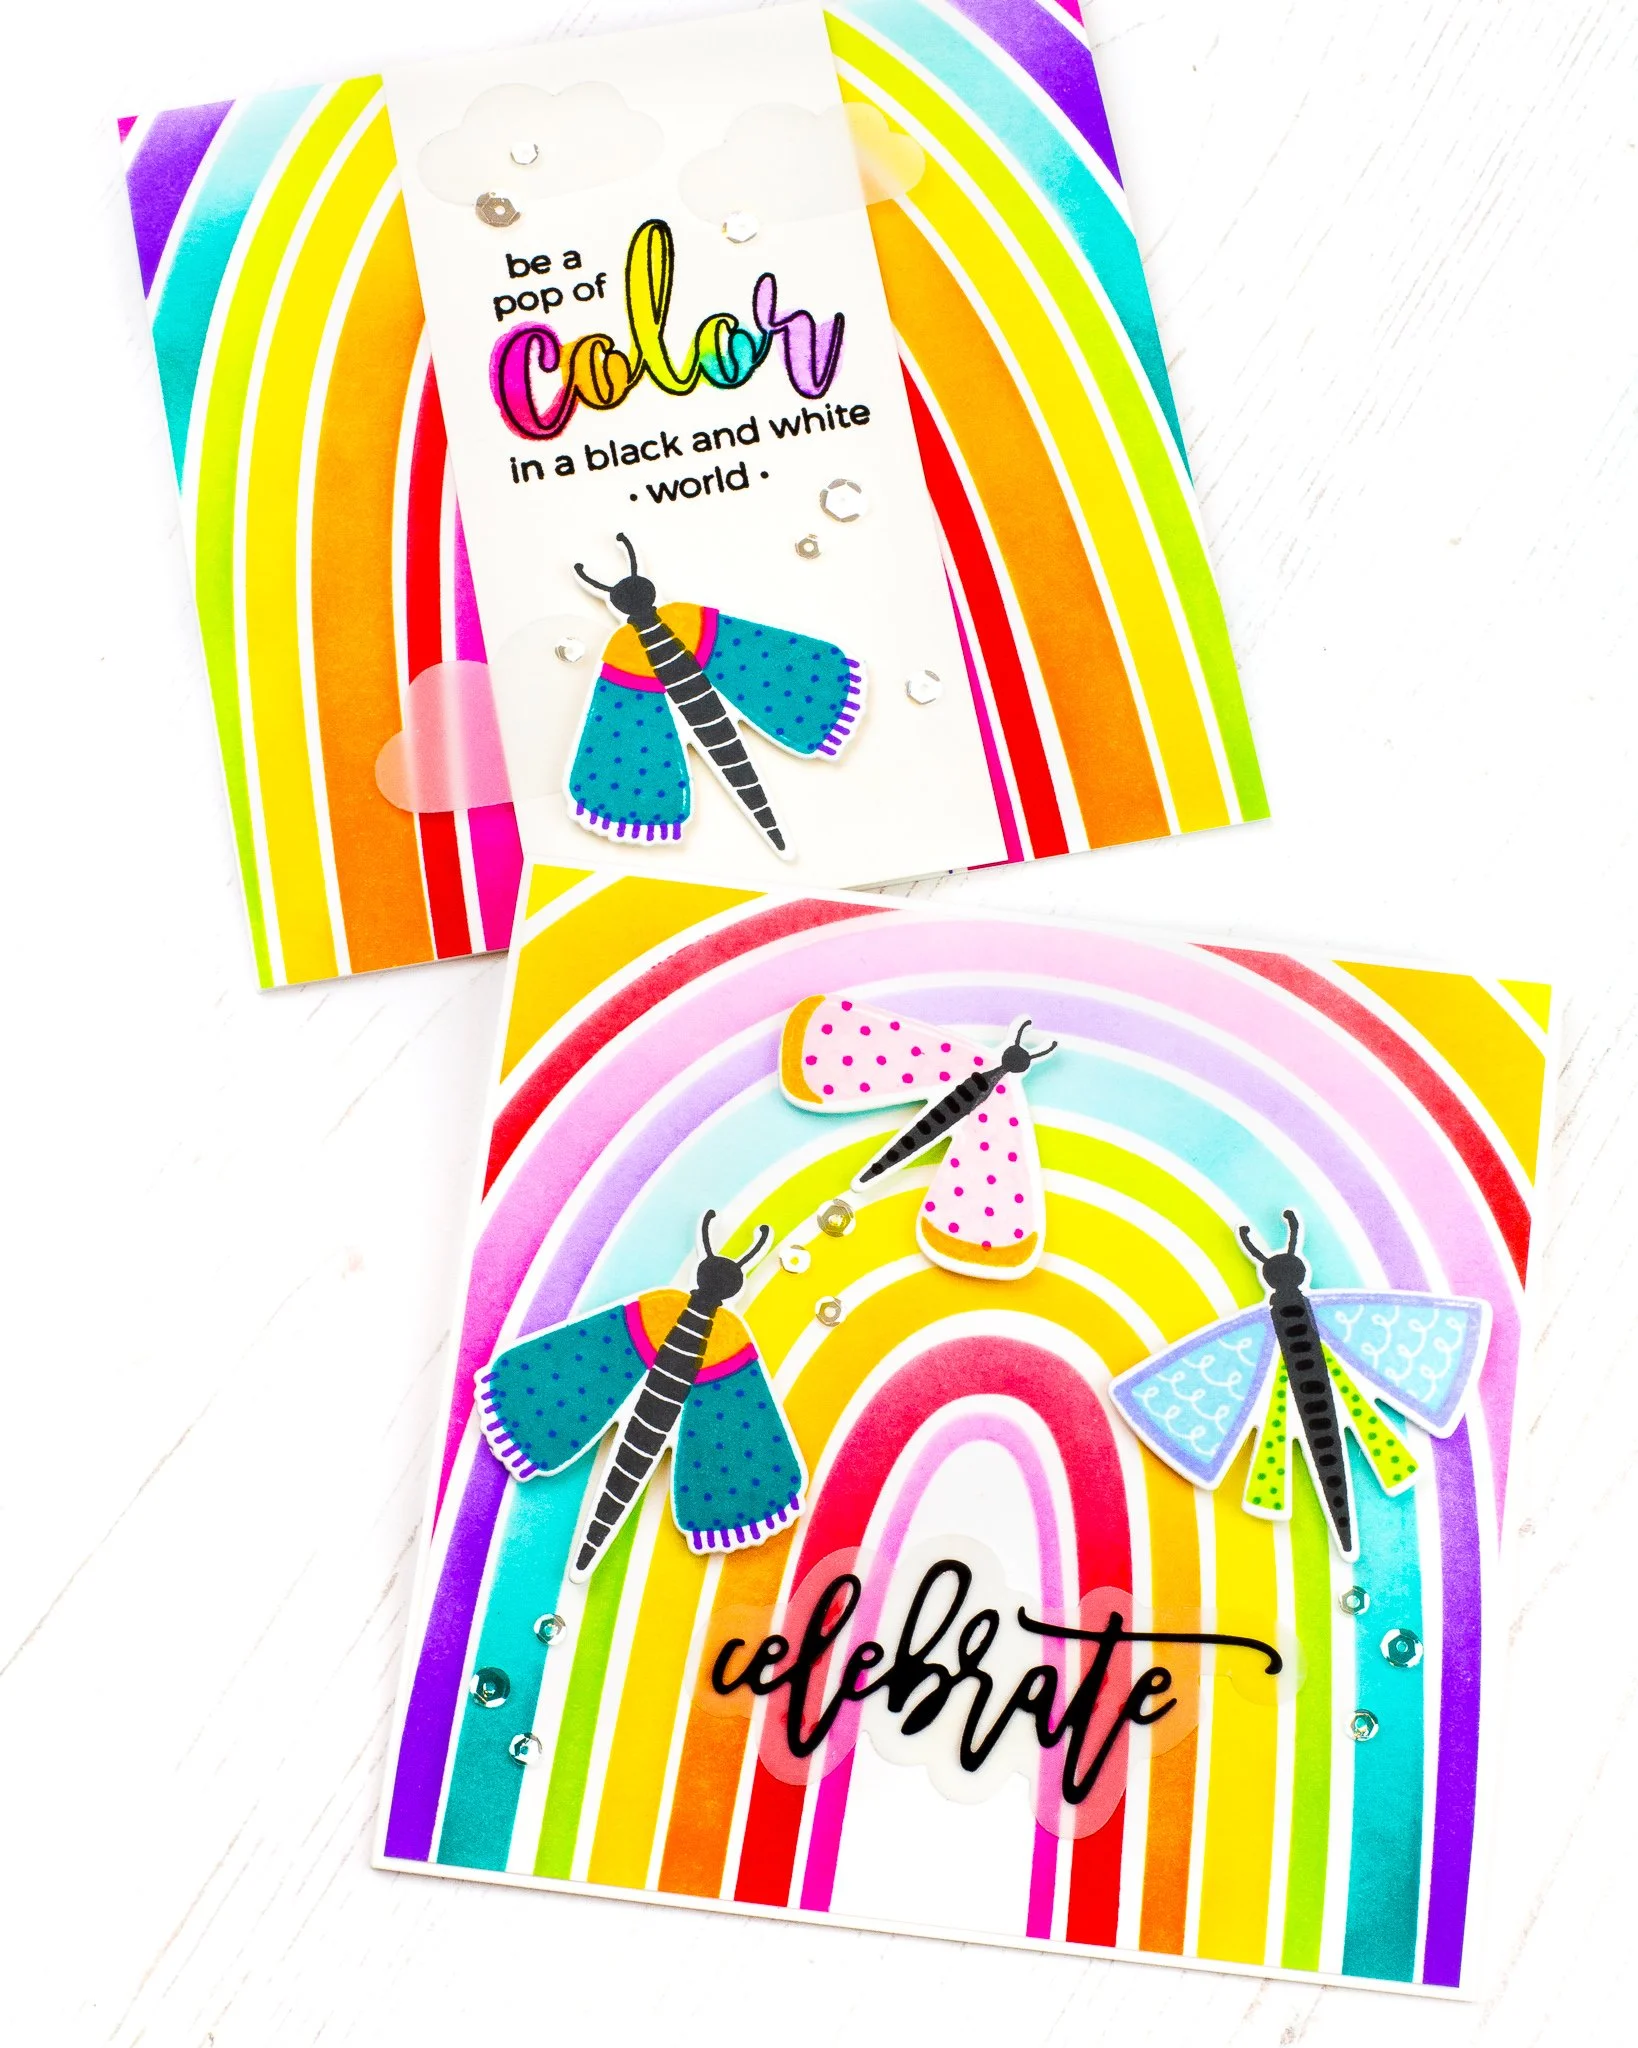
For the two cards above, I used one inked background to create two 5 1/4 inch square cards. My first idea what to cut a square right from the center of the stenciled background to include as much color as possible on my card-front. I trimmed about 1 3/4 - 2 inches off each side, but I recommend using either a square die or a piece of scratch paper that you use to trace where you want to cut as I found the method I chose to be a little bit difficult.
Once I had my square panel, I noticed that the two leftover scraps were just larger enough to be used on another card project! All I needed to do was adhere them along either side of another square cardbase and add a panel in the center to cover the gap. This center panel acted as the perfect backdrop for my sentiment from Color In Sentiments.
To finish off both of these cards I used a few stamped butterflies from Fluttering By and a few clear sequins. On the full rainbow card, I used the Script Greetings Die Set to cut “celebrate” from black cardstock and a shadow layer from vellum. I really did not want to cover any of the background so I opted for vellum instead of white cardstock.
If you’re curious, here are the ink colors I used for the background and stamping: Spun Sugar, Picked Raspberry, Candied Apple, Spiced Marmalade, Mustard Seed, Fossilized Amber, Twisted Citron, Mowed Lawn, Tumbled Glass, Peacock Feathers, Shaded Lilac and Wilted Violet Distress Inks by Ranger. Black Jack Premium Dye Ink from Catherine Pooler Designs and Tsukineko VersaFine Clair Pigment Ink in Nocturne.
Tip #2: Create your own Die Cuts
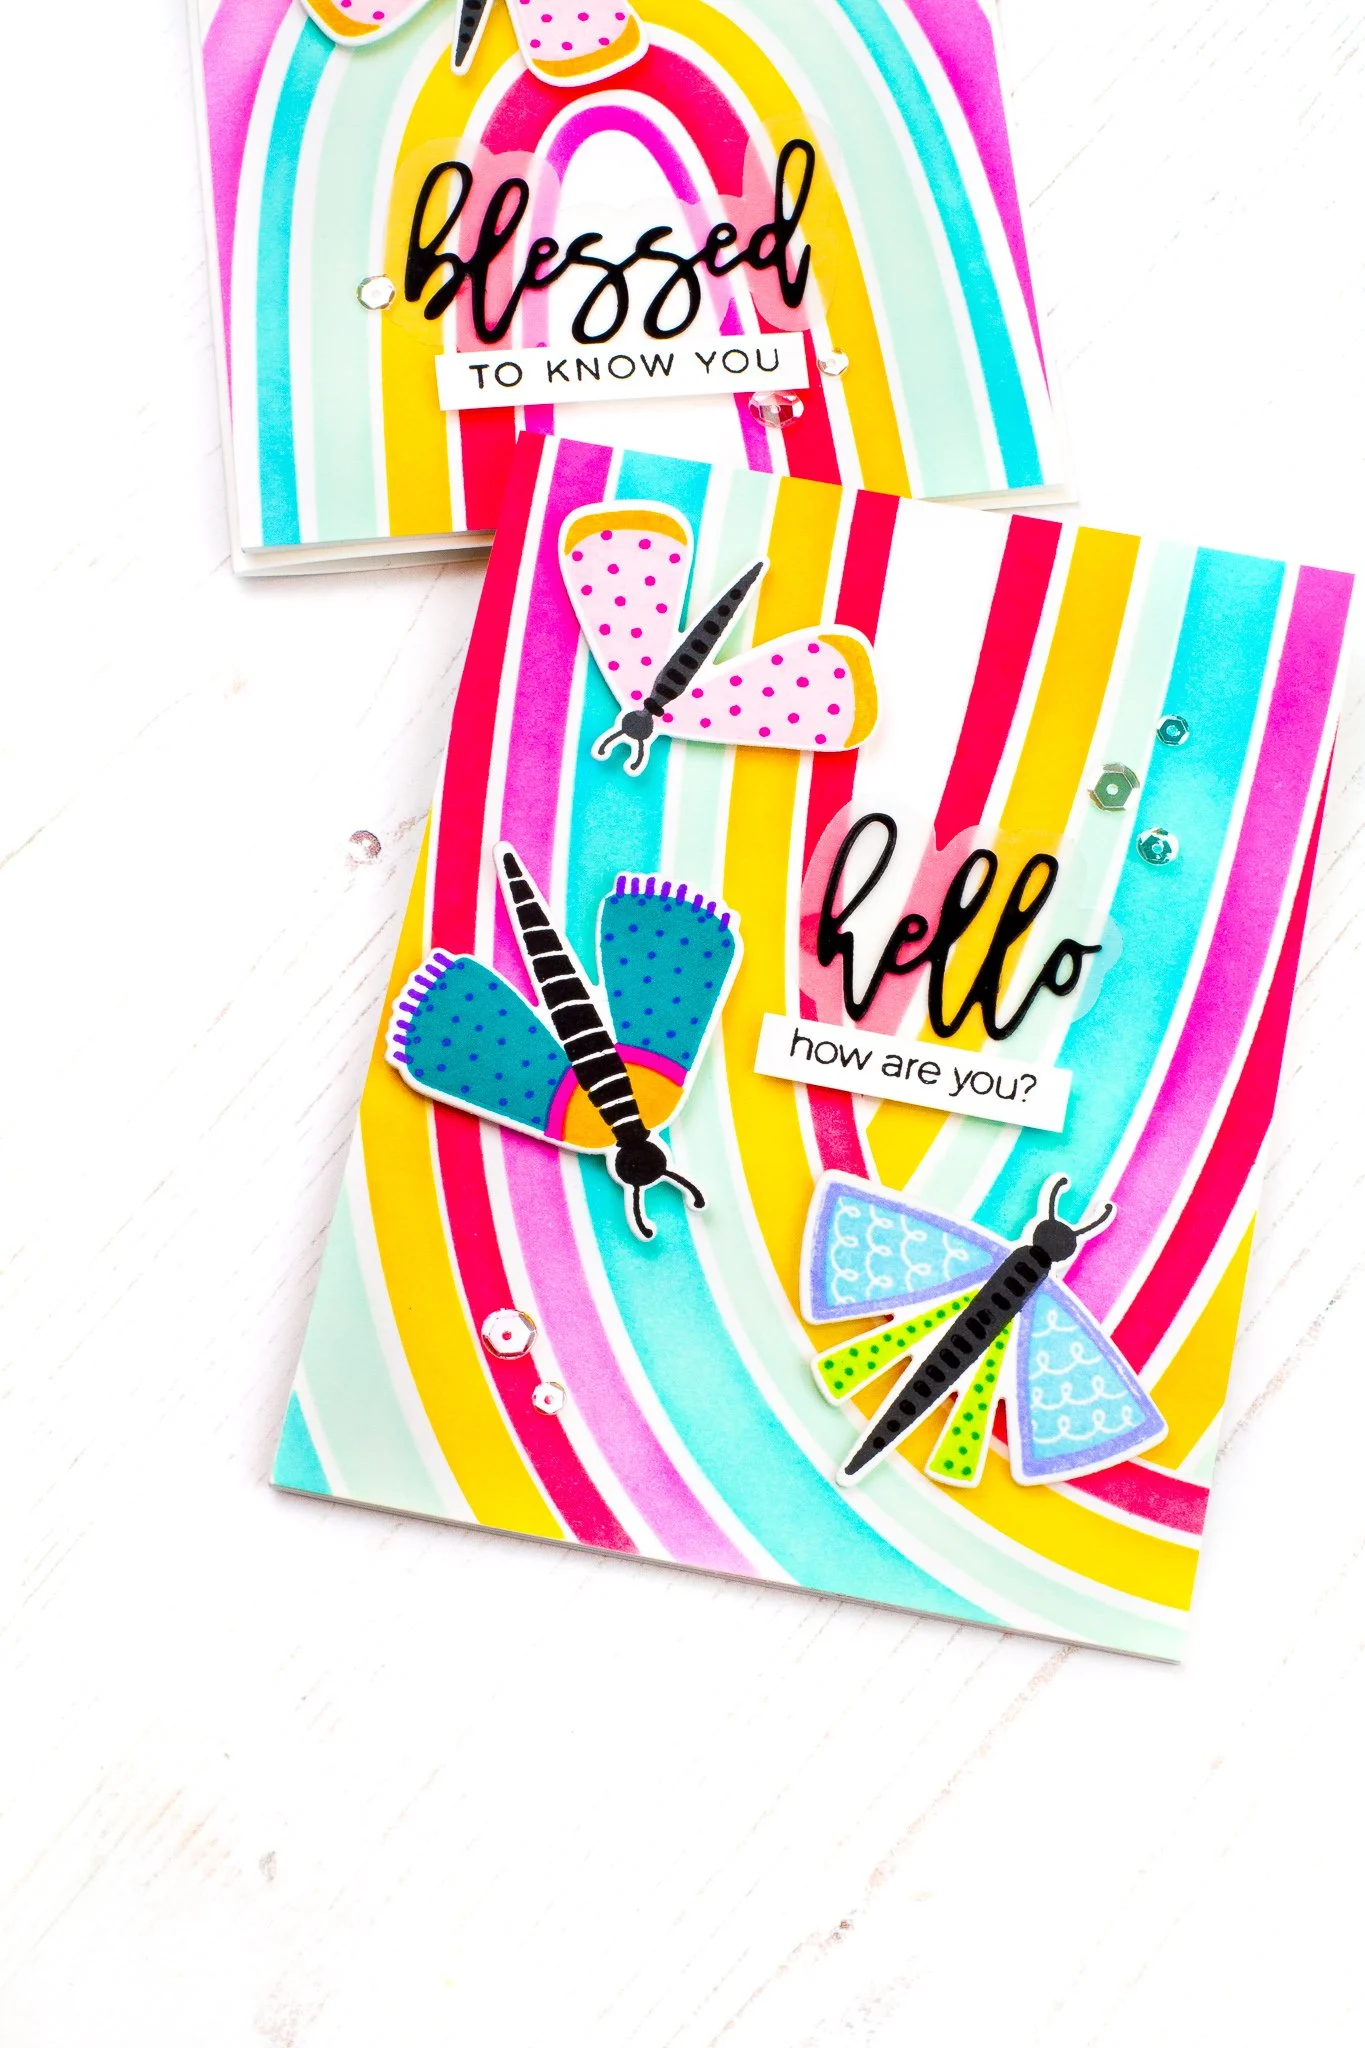
For my second tip, I wanted to encourage you to cut up your stenciled backgrounds to create your own die cuts! On the card on the left, you’ll see that I actually trimmed a smaller rainbow (six rays) from the center of another stenciled panel. This allowed me to fit the design onto a smaller A2 sized card and leave some white space where I could add some vellum clouds. This tip is a great way to take larger backgrounds and scale them down to whatever project you’re working on.
For the card on the right, you’ll notice there’s an interesting overlapping pattern going on on the background. This was created by using the piece that was leftover after I cut out the six rays in the center from the first card. Once you cut the center out, you’re left with a rainbow arch piece. I took that piece to my trimmer and cut it in half, turned the two cut pieces upside down (they’ll look like a U) and then overlapped them together. You’ll find that the two pieces fit nicely together and measure about the same size across as an A2 card. I know this sounds confusing, but it’s so easy! Take a peek at the video below for a visual tutorial.
I encourage you to take another peek at your stenciled backgrounds and try to think of creative ways you can get more usage from them. Whether it be cutting them apart, flipping them around, die-cutting images from them - whatever makes you feel inspired! I hope the two ideas I shared today can act as a jumpstart for your creativity!
Giveaway!
This giveaway has ended and the winner has been chosen and emailed. If you entered the giveaway, make sure to check your inbox for more information. Thank you so much for joining in on the celebration!
Products Used:

This 6x9, five piece stencil set layers together to create a radiant, colorful rainbow background. Yes! This panel will be large enough to cover an entire slimline cardbase but can easily be used on smaller designs as well.
Features:
Number etchings centered on bottom of stencil to ensure proper order when layering
Ray etchings on layers 2-5 to ensure proper alignment before inking next layer (Click to third photo for a picture of the etchings. The etchings will line up with the previously inked layer.)
Tip: Use five different colors (as intended) OR switch it up! Use three colors and repeat two of the them for the last two layers or use an unlimited number of colors by inking up each bow on each layer individually! (Check out the second photo to see what I mean)
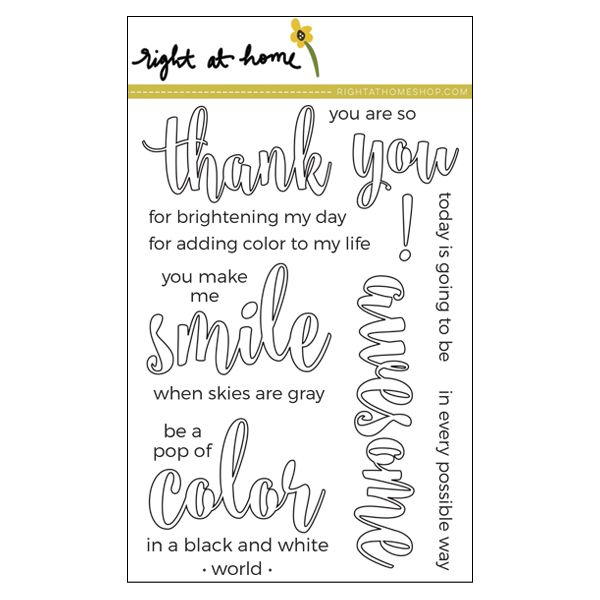
4 in x 6 in stamp set
Features large, open, sentiments perfect for adding your favorite coloring mediums in to. From Copics to watercolors, you can bring these sentiments to life by just adding color!
- - - - - - - - - -
Looking for inspiration specific to this product? Check out our Idea Gallery for ideas categorized by stamp set.
Bundle includes the Fluttering By stamp set and coordinating die set. This stamp set is only available as a bundle at this time. Already have this stamp set? We have a few of the die sets available individually here.
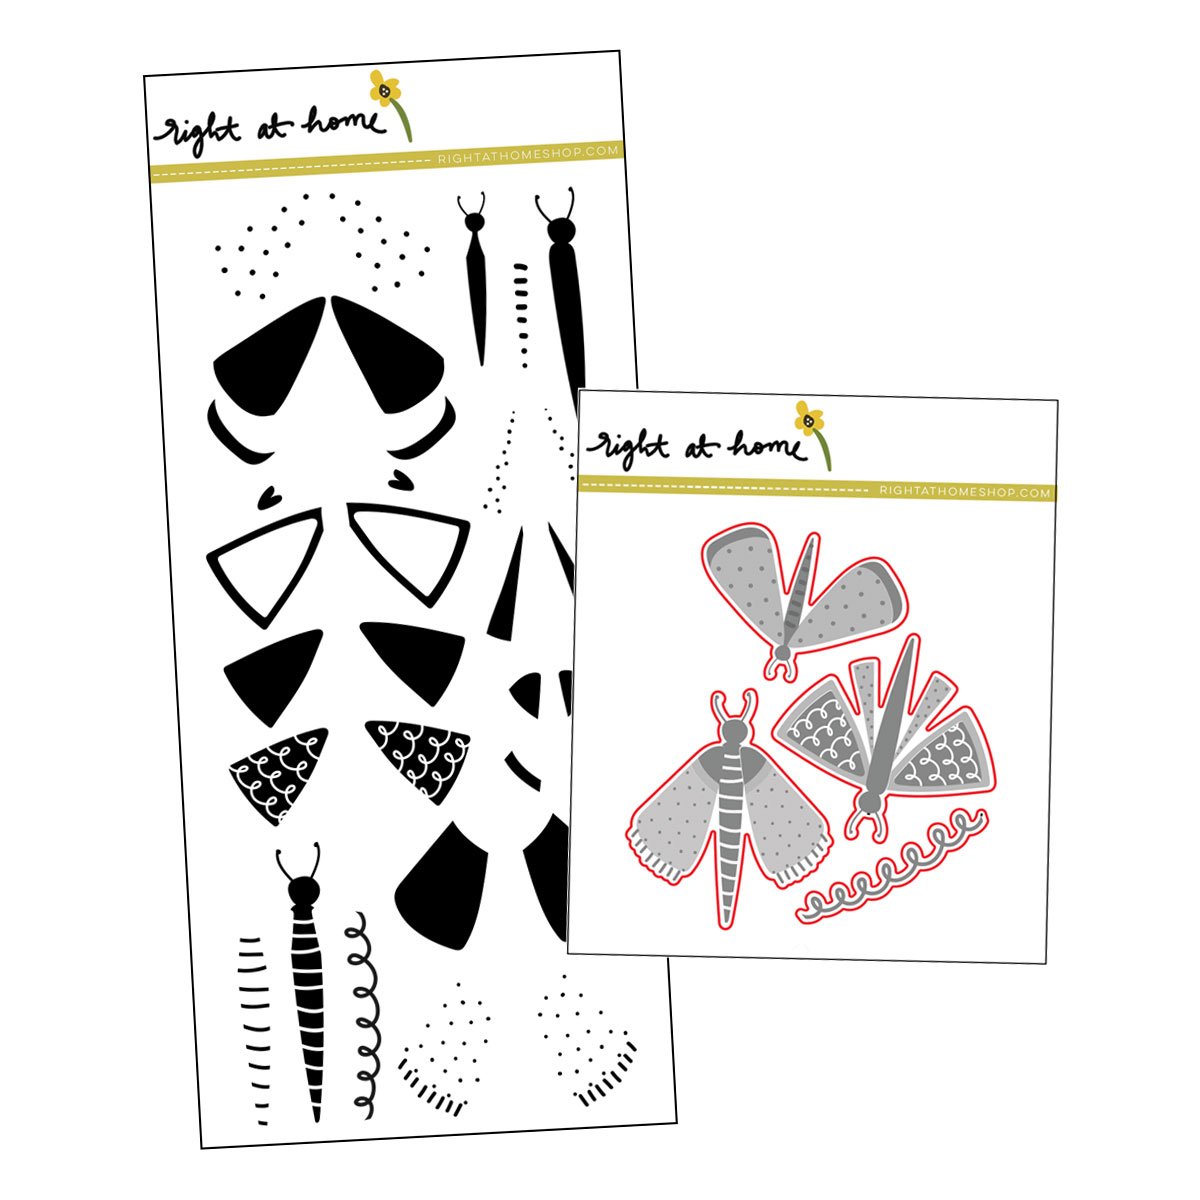
4 in x 8 in stamp set
Mix & match the different layers to create a colorful butterfly. Features three different butterflies in varying sizes with some of the butterflies have different layering options. Add one of the trail images behind your finished butterfly to make it look like it’s fluttering away!
Measurements (when stamped):
Small butterfly: 1 4/5 in x 1 1/4 in
Medium butterfly: 1 4/5 in x 2 in
Large butterfly: 1 3/4 in x 2 in
Download the Fluttering By Stamping Guide
- - - - - - - - - -
Looking for inspiration specific to this product? Check out our Idea Gallery for ideas categorized by stamp set.
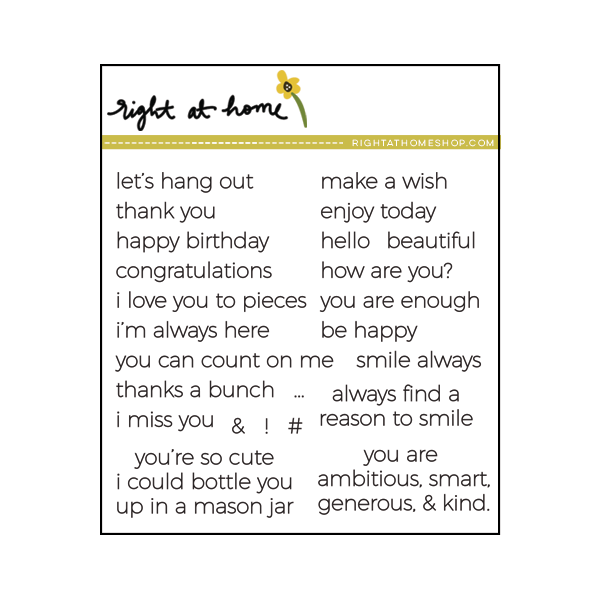
4 in x 4 in stamp set
Features dozens of sentiments on a smaller scale. These add the perfect finishing touch to your card creations without taking up too much room. I've been looking for a set like this for a while, but I haven't found one. So I decided to create it myself!
- - - - - - - - - -
Looking for inspiration specific to this product? Check out our Idea Gallery for ideas categorized by stamp set.
Featured in Jennifer McGuire's My Favorite Crafty Things 2016 video series!
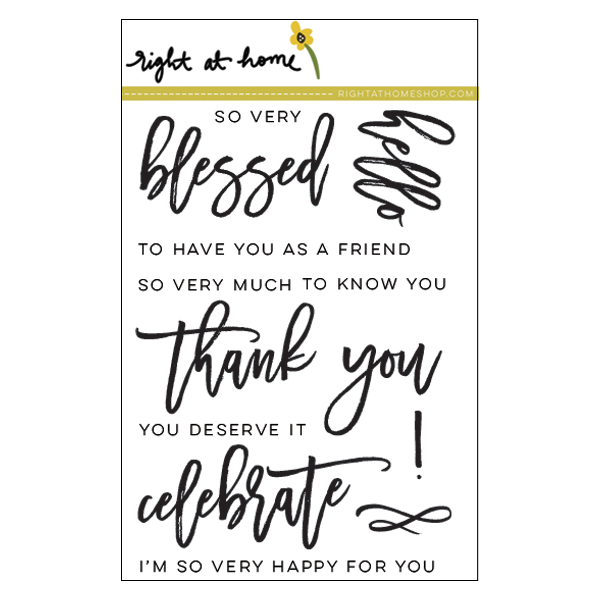
4 in x 6 in stamp set
Features various sentiments in an elegant brushstroke script font. Mix and match the add-on sentiments to create various greetings for your handmade cards.
Looking for the coordinating dies? Click here.
- - - - - - - - - -
Looking for inspiration specific to this product? Check out our Idea Gallery for ideas categorized by stamp set.

Our Ink Blending Washi Tape features our new watercolor swatches pattern and an adorable illustration of our yellow blending brushes. Simply unroll and tear a piece to temporarily tape down your stencil before inking. Who says your masking tape can’t be cute and colorful? Not me!
Details:
1 in x 32 ft
Low-tack adhesive
Reusable

Coordinates with our Script Greetings stamp set.
Die-cuts each stamped word with a slight border. Also die-cuts word that can be used alone.
Measurements:
Hello: 1 5/16" x 1 1/8"
Blessed: 2 1/16" x 1 1/2"
Thank You: 3 1/4" x 1 7/16"
Celebrate: 2 3/4" x 1 1/8"
Outer bubbles: 3/16" larger than inner die measurements
- - - - - - - - - -
Looking for inspiration specific to this product? Check out our Idea Gallery for ideas categorized by stamp set.